I still remember the first time I tried making Thanksgiving desserts with my little boy — he was barely two, but his excitement was bigger than any mixing bowl in our kitchen.
As a mom who’s spent years sharing tips and ideas with other parents, I’ve learned that baking with kids isn’t about perfection; it’s about creating sweet memories while stirring up something delicious.
In this post, I’m sharing my favorite indulgent Thanksgiving desserts that moms like us can easily make with our toddlers. No matter if you’re brand-new to baking or a mom who just needs new ideas, these recipes keep things easy, fun, and toddler-friendly.
Key Takeaway
- Baking with kids doesn’t have to be complicated — simple recipes are best.
- Small tasks like stirring or sprinkling make toddlers feel important and capable.
- Decorating together is a fun, low-pressure way to teach creativity and patience.
- Clean-up and wrapping up can be part of the memory-making too.
- The goal is connection, not perfection — enjoy the process as much as the dessert.
Why Make Thanksgiving Desserts With Kids
As a mom to a busy two-year-old, I’ve learned that baking Thanksgiving desserts together isn’t just about the food. It’s about turning ordinary kitchen time into little moments of learning, laughter, and connection.
Here are some of the sweetest reasons to invite your kids into the process:
- Builds special one-on-one bonding time between you and your child
- Teaches simple life skills like mixing, measuring, and patience
- Sparks creativity with decorating and taste-testing
- Introduces kids to family traditions and holiday memories early
- Encourages sensory play through textures, smells, and colors
- Boosts confidence when they see a dessert they “helped” make
- Creates natural opportunities for gentle conversations about gratitude
- Helps toddlers develop fine motor skills while stirring or sprinkling
- Makes the holiday prep less stressful by turning it into playtime
- Gives your child a sense of pride and belonging at the holiday table.
Tips for Baking With Kids This Thanksgiving
Baking with little ones — especially a lively two-year-old — can feel like a juggling act. Over the years, I’ve found a few tricks that turn kitchen chaos into a happy, memory-making moment.
These tips help keep things fun, safe, and stress-free for both of you:
- Choose simple recipes with just a few steps your child can actually do.
- Prep ingredients ahead so measuring and mixing go faster.
- Set up a kid-friendly station at counter height or on a sturdy chair with supervision.
- Use unbreakable bowls and tools to avoid accidents.
- Assign easy tasks like stirring, sprinkling toppings, or placing liners in muffin tins.
- Keep portions small to make spills and clean-up easier.
- Narrate each step out loud to teach your child new words and concepts.
- Build in a “taste test” moment so your toddler feels rewarded for helping.
- Have a quick clean-up plan — wet wipes and a small broom within reach to save time.
- Stay flexible and patient — focus on the fun, not on making perfect desserts.
12 Thanksgiving Desserts for Kids
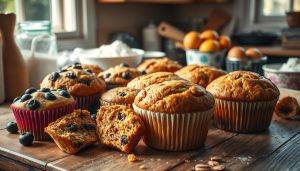
Thanksgiving is one of my favorite times to bring my little boy into the kitchen. There’s something magical about watching tiny hands help create a holiday treat.
These 12 desserts are simple, indulgent, and perfect for moms who want to turn baking into a fun family tradition.
1. Classic Pumpkin Pie With a Kid-Friendly Twist
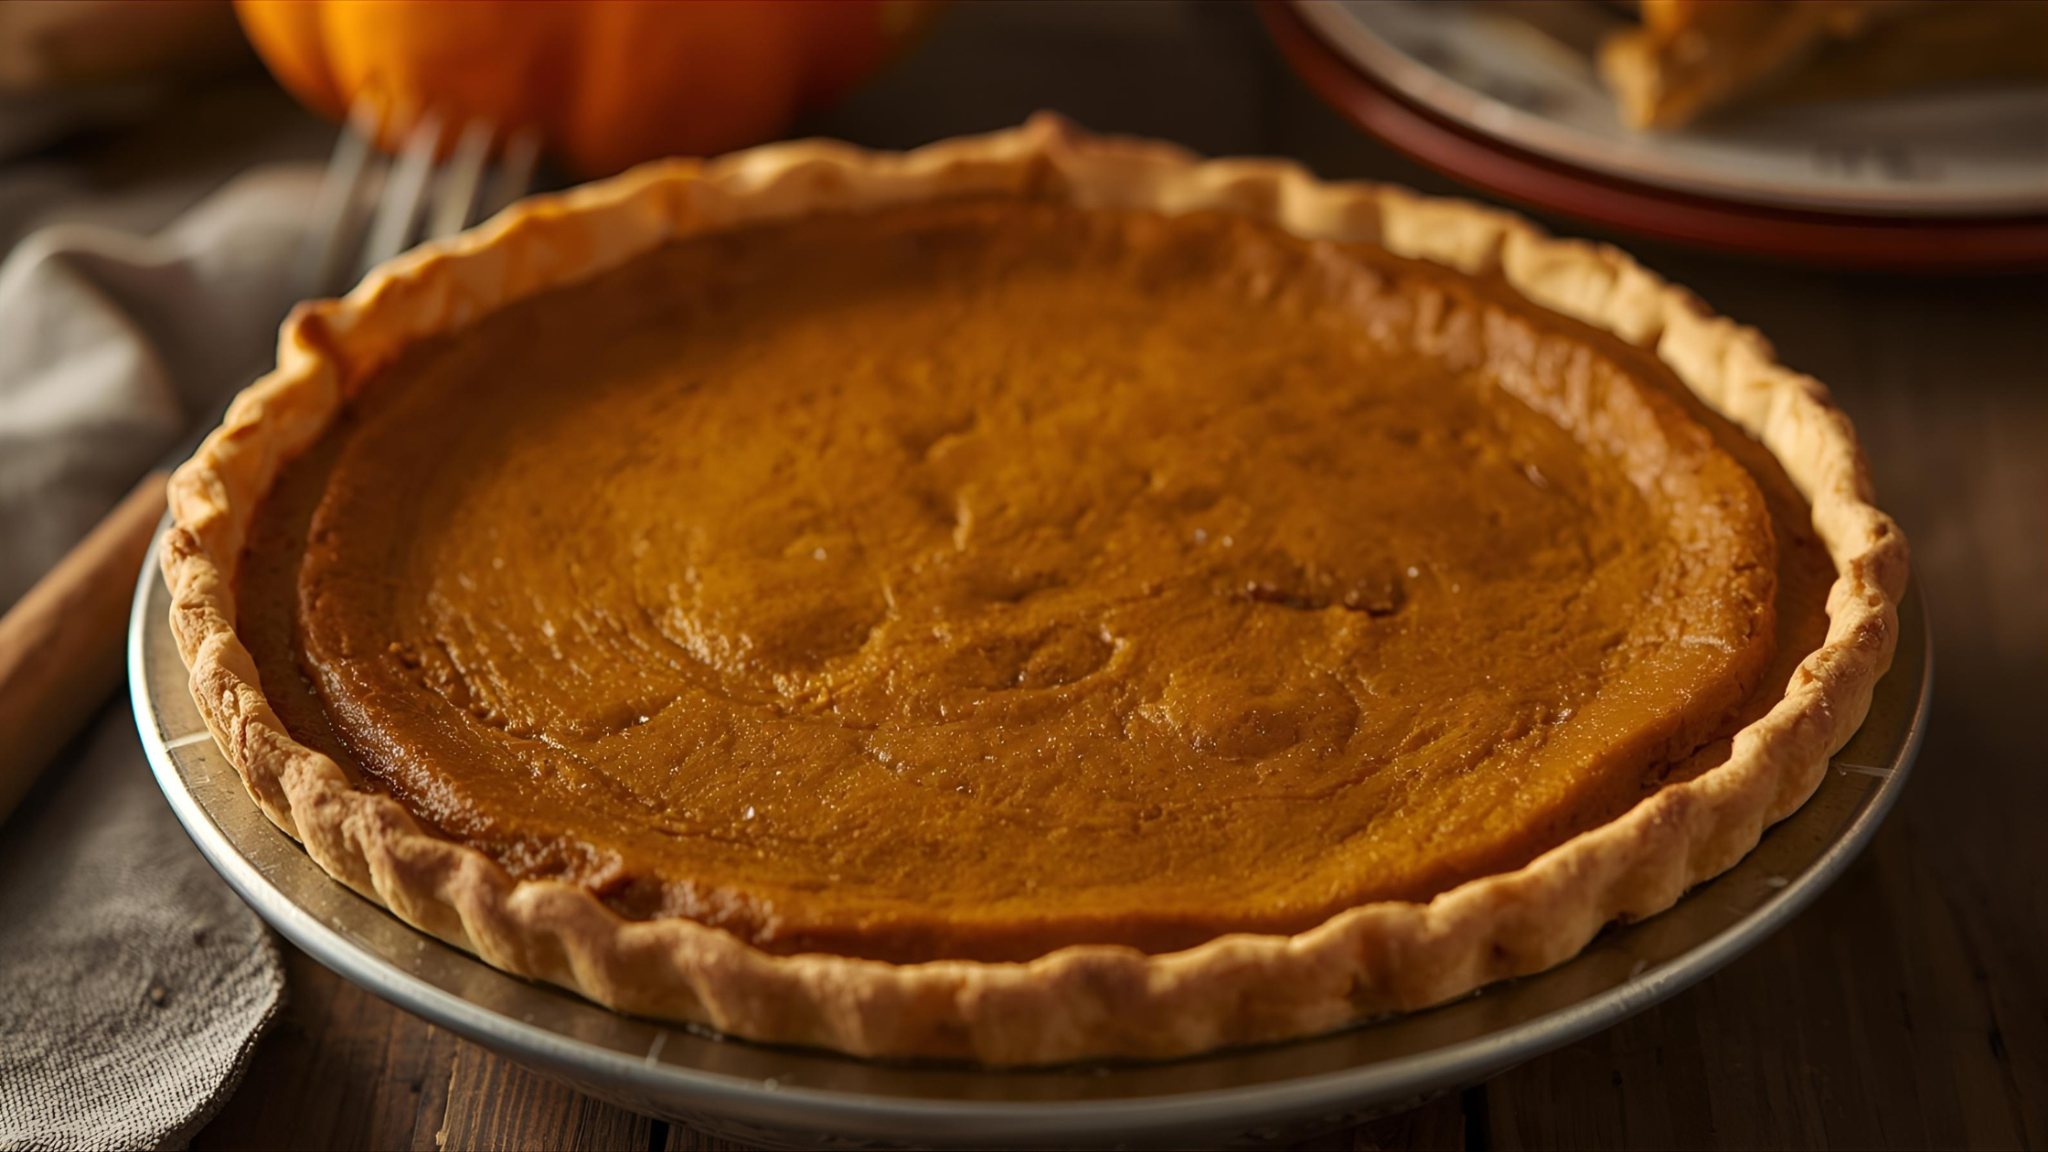
Pumpkin pie is a Thanksgiving staple, but I like to make it extra special (and easier for little helpers) by using pre-made mini pie shells and letting my son help with the mixing and sprinkling of spices. It keeps the classic flavor but makes the process fun and manageable for toddlers.
Ingredients:
- 1 package mini pie shells (store-bought)
- 1 can (15 oz) pumpkin puree
- 3/4 cup brown sugar
- 1 tsp cinnamon
- 1/2 tsp nutmeg
- 1/2 tsp ginger
- 2 large eggs
- 1 cup evaporated milk
- Whipped cream for topping
Procedure:
- Preheat your oven to 350°F (175°C).
- In a large bowl, whisk together pumpkin puree, brown sugar, cinnamon, nutmeg, and ginger.
- Crack the eggs and whisk them in (this is a fun part to let your child watch or help).
- Slowly add evaporated milk and stir until smooth.
- Spoon the pumpkin mixture into the mini pie shells.
- Place the mini pies on a baking sheet and bake for 25–30 minutes or until set.
- Let cool completely, then top with whipped cream before serving.
2. Mini Apple Crisps in Mason Jars
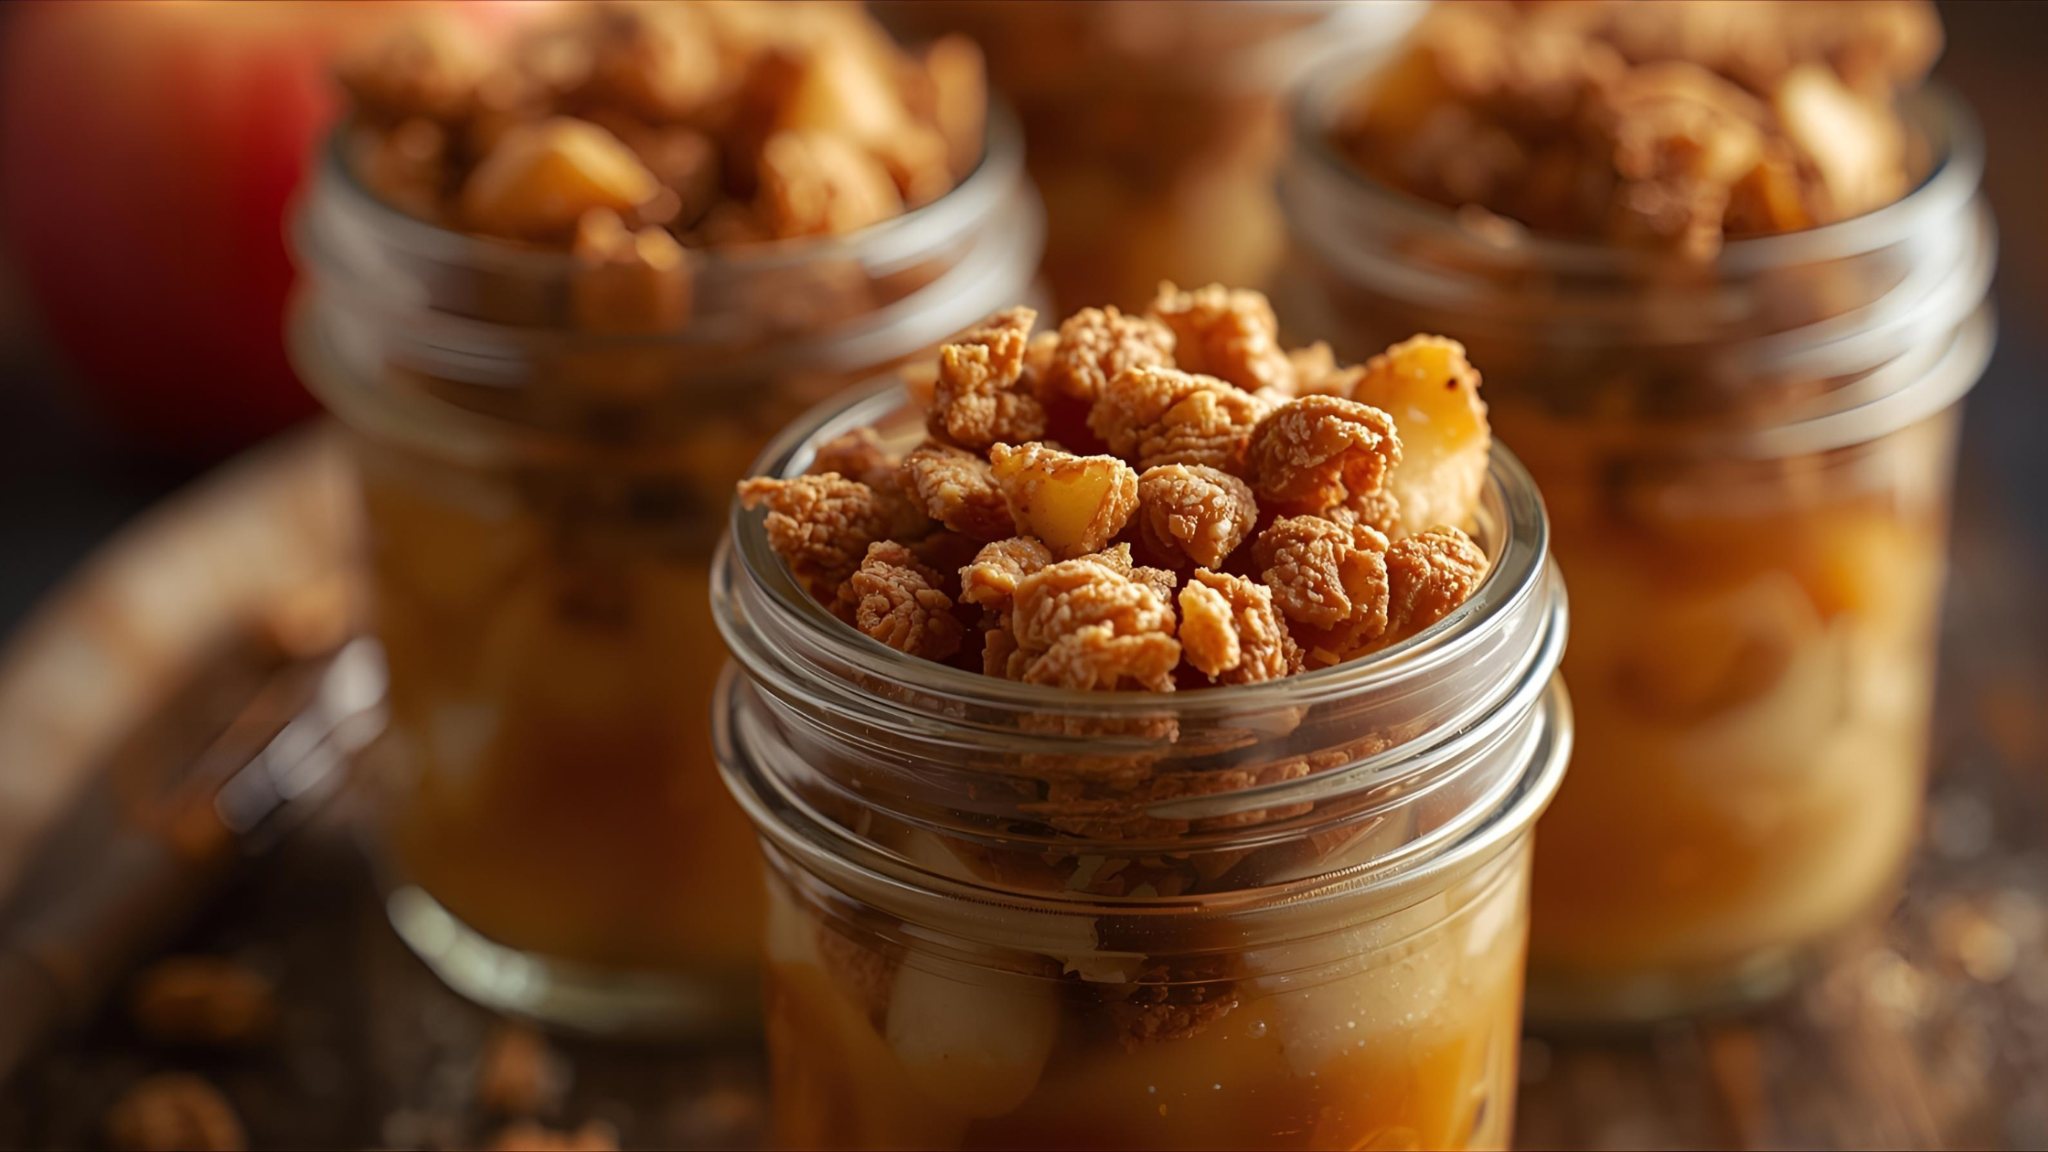
These little apple crisps feel like individual treasures on the table. My toddler loves sprinkling the crumble topping before we bake.
Ingredients:
- 4 medium apples, peeled and chopped
- 2 tbsp lemon juice
- 1/3 cup brown sugar
- 1 tsp cinnamon
- 1/2 cup rolled oats
- 1/2 cup flour
- 1/3 cup butter, melted
Procedure:
- Preheat oven to 350°F (175°C).
- In a bowl, toss apples with lemon juice, brown sugar, and cinnamon.
- Divide the apple mixture into 6 small mason jars.
- In another bowl, mix oats, flour, and melted butter until crumbly.
- Sprinkle the oat mixture over the apples.
- Bake for 20–25 minutes until the topping is golden and apples are tender.
3. No-Bake Chocolate Peanut Butter Bars

When I’m short on time, these bars are a lifesaver — no oven required and little ones can press the layers themselves.
Ingredients:
- 2 cups graham cracker crumbs
- 1 cup peanut butter
- 1/2 cup butter, melted
- 2 cups powdered sugar
- 2 cups chocolate chips
Procedure:
- Line an 8×8-inch pan with parchment paper.
- In a bowl, mix graham crumbs, peanut butter, melted butter, and powdered sugar until smooth.
- Press the mixture firmly into the pan.
- Melt chocolate chips in the microwave or on the stovetop and pour over the base.
- Chill for at least 1 hour before cutting into squares.
4. Turkey-Shaped Sugar Cookies With Colorful Icing
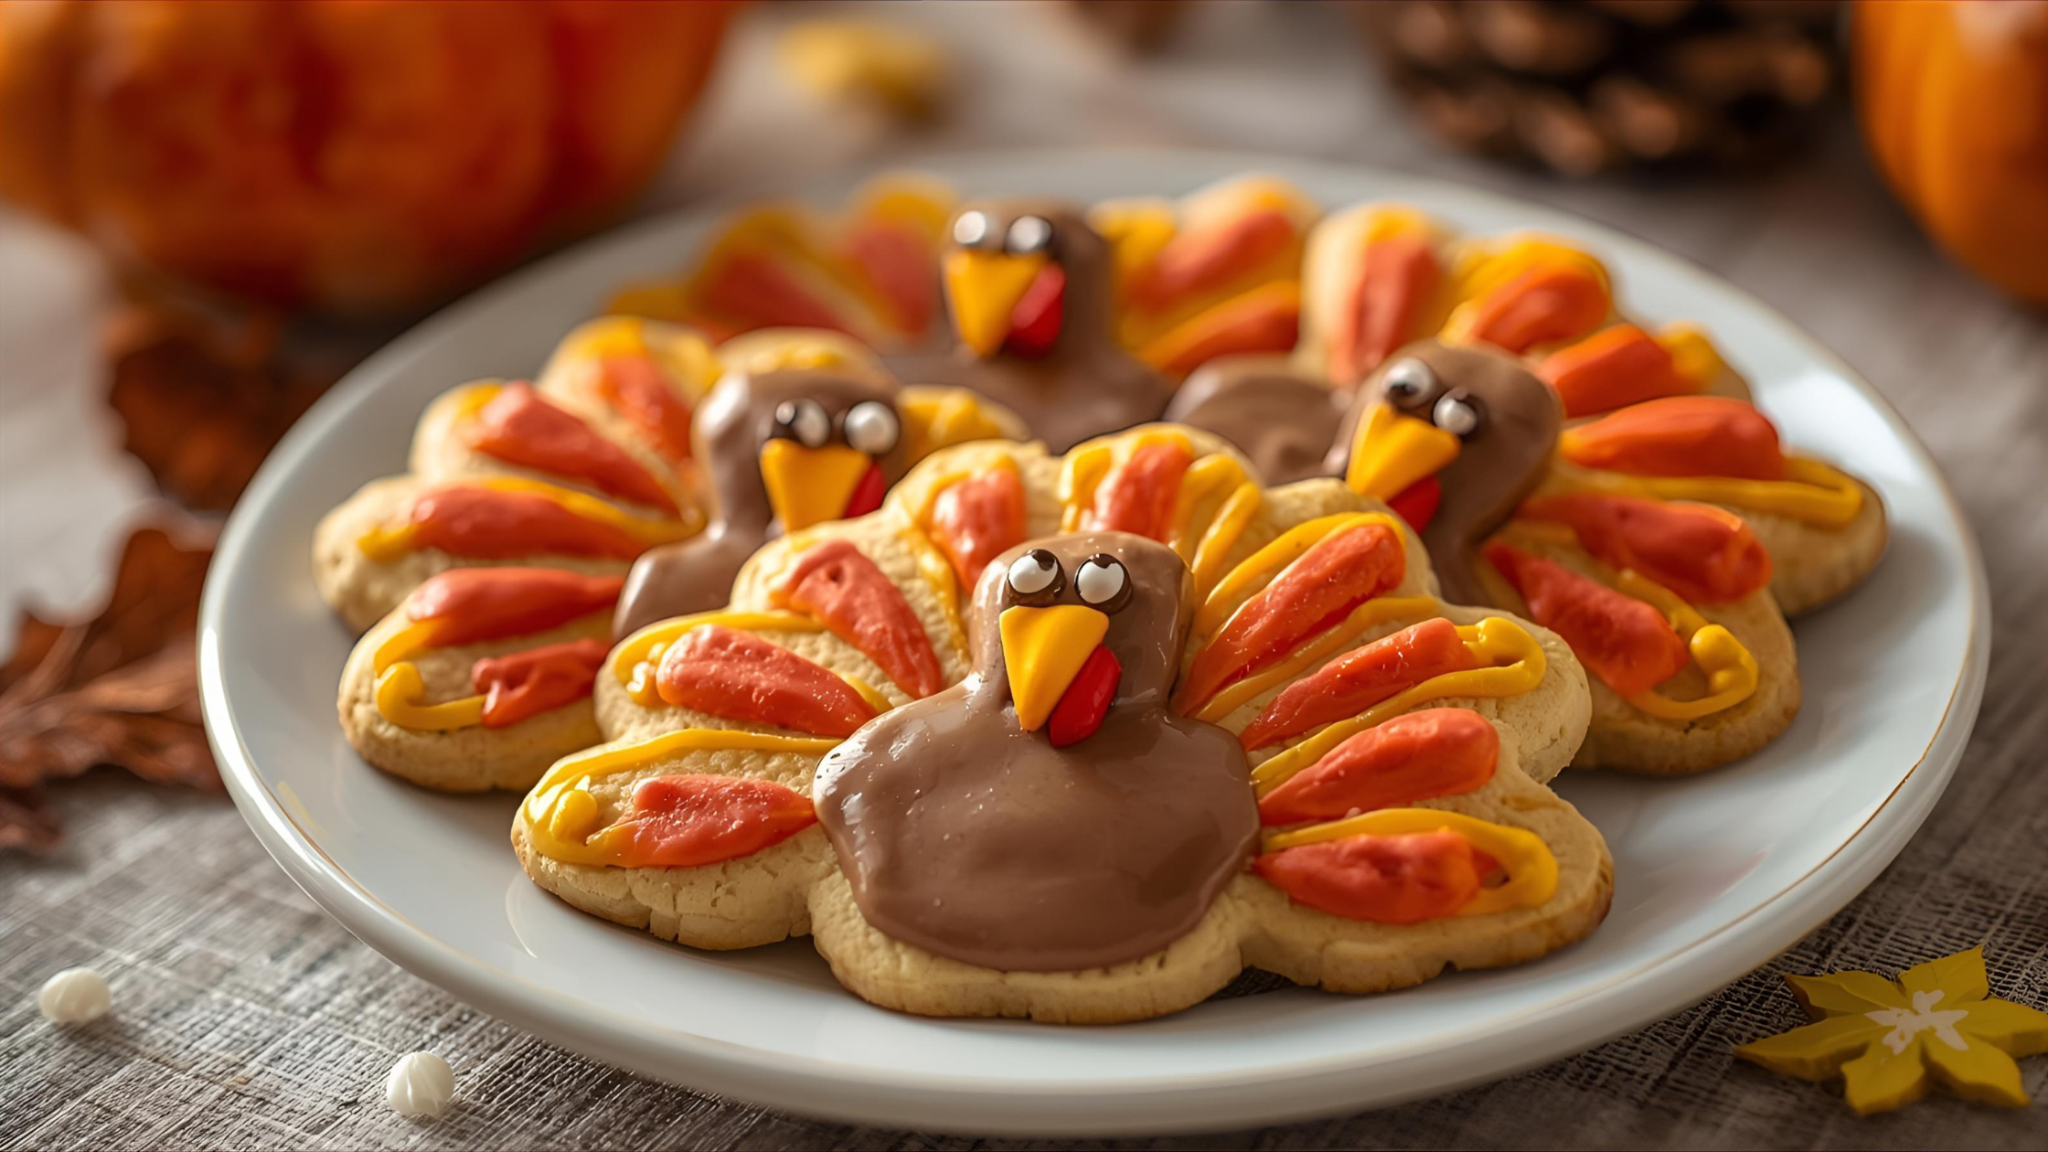
These cookies are more about the decorating than the baking. My son loves “painting” the icing on his little turkey shapes.
Ingredients:
- 1 batch sugar cookie dough (store-bought or homemade)
- Turkey-shaped cookie cutters
- Assorted icing colors
- Sprinkles or candy eyes
Procedure:
- Preheat oven according to cookie dough package instructions.
- Roll out dough and cut out turkey shapes.
- Bake as directed and let cool completely.
- Set up bowls of colored icing and sprinkles.
- Let your child decorate each cookie like a little art project.
5. Caramel Apple Cheesecake Bites
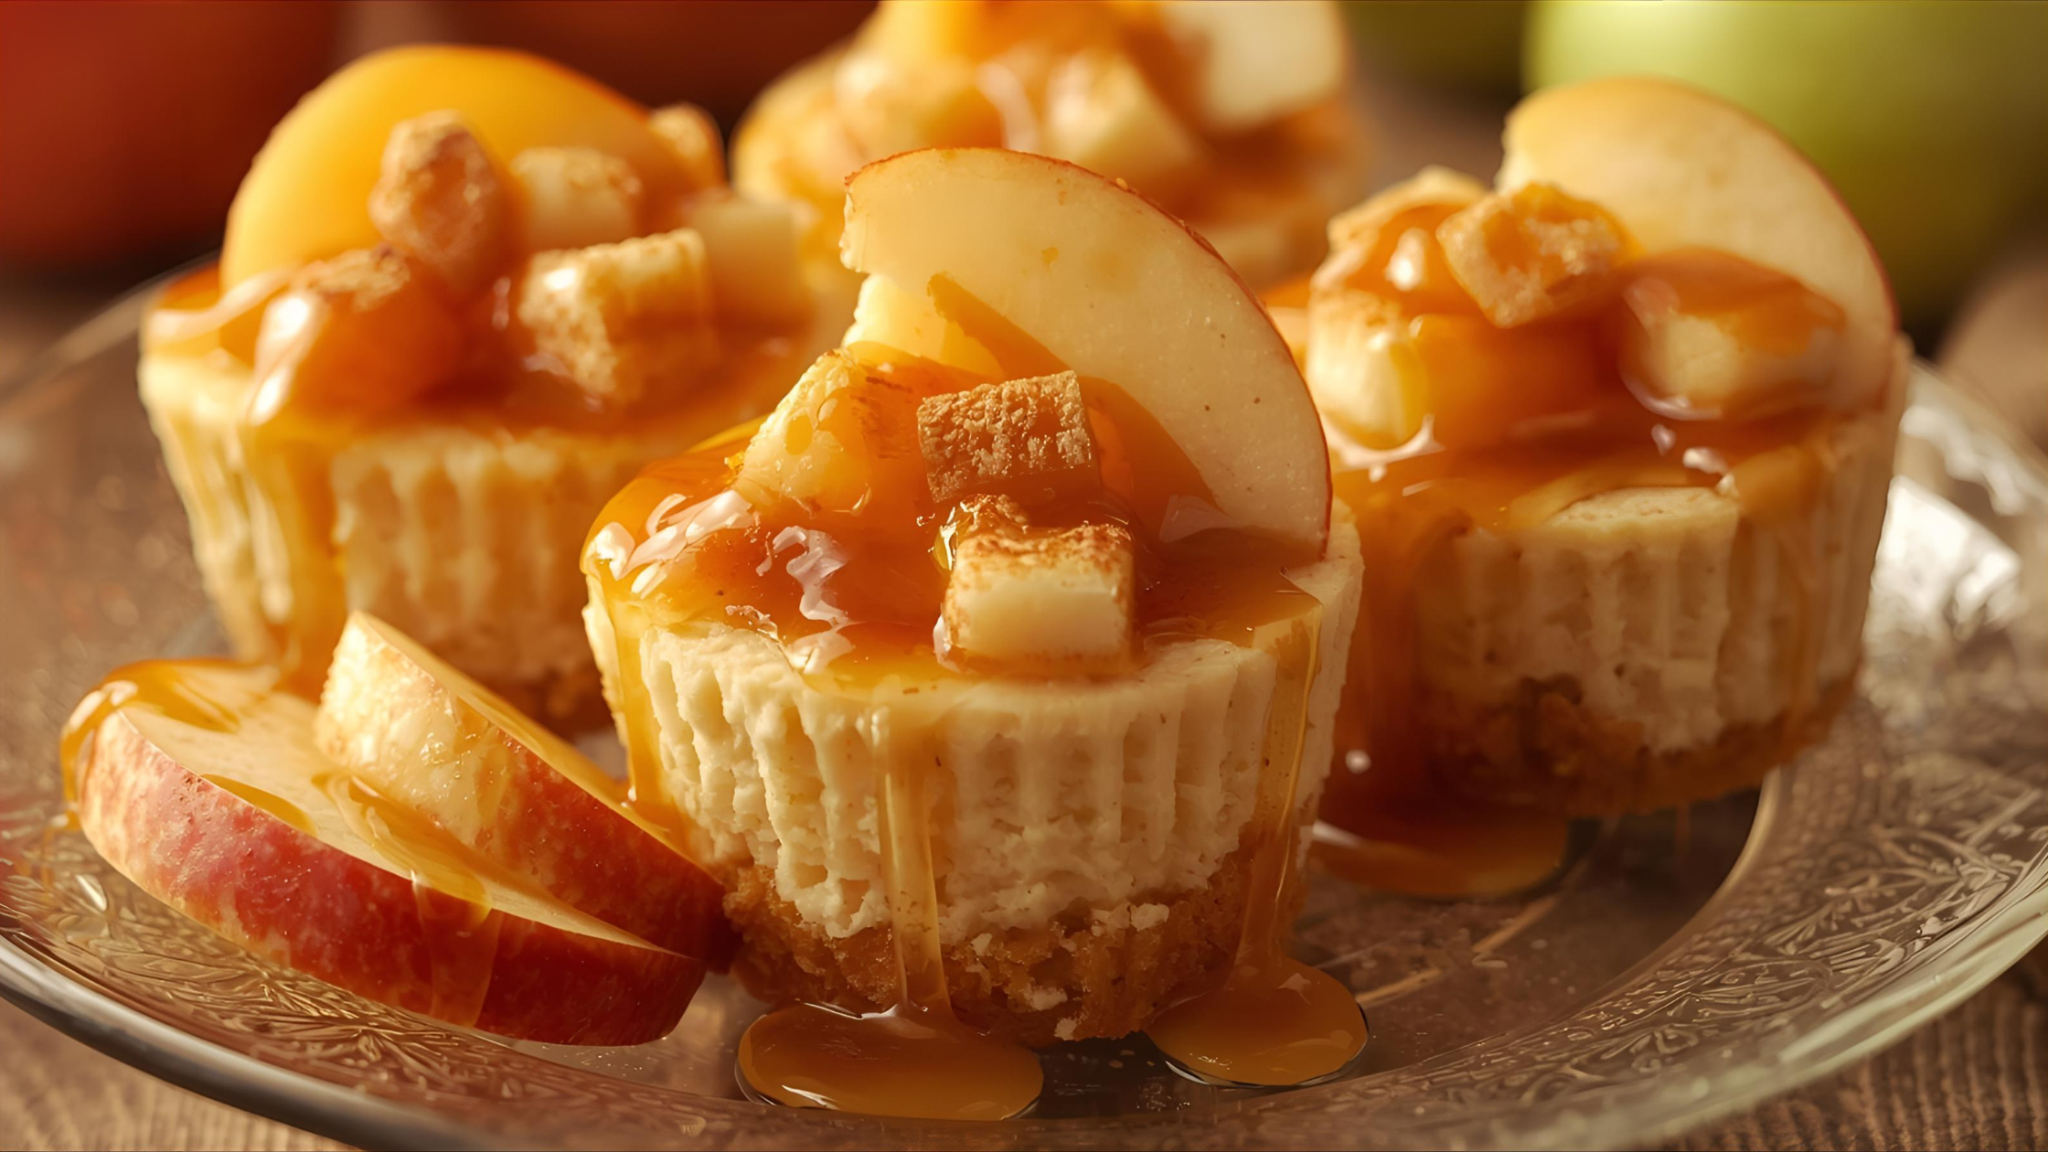
These bites give you the taste of caramel apples without the sticky mess.
Ingredients:
- 12 mini graham cracker crusts
- 8 oz cream cheese, softened
- 1/4 cup sugar
- 1 egg
- 1 tsp vanilla extract
- 1 cup apple pie filling, chopped
- 1/4 cup caramel sauce
Procedure:
- Preheat oven to 325°F (160°C).
- Beat cream cheese, sugar, egg, and vanilla until smooth.
- Spoon into mini crusts.
- Top with chopped apple pie filling.
- Bake for 15–18 minutes until set.
- Drizzle with caramel sauce before serving.
6. Easy Pecan Pie Bars for Little Bakers
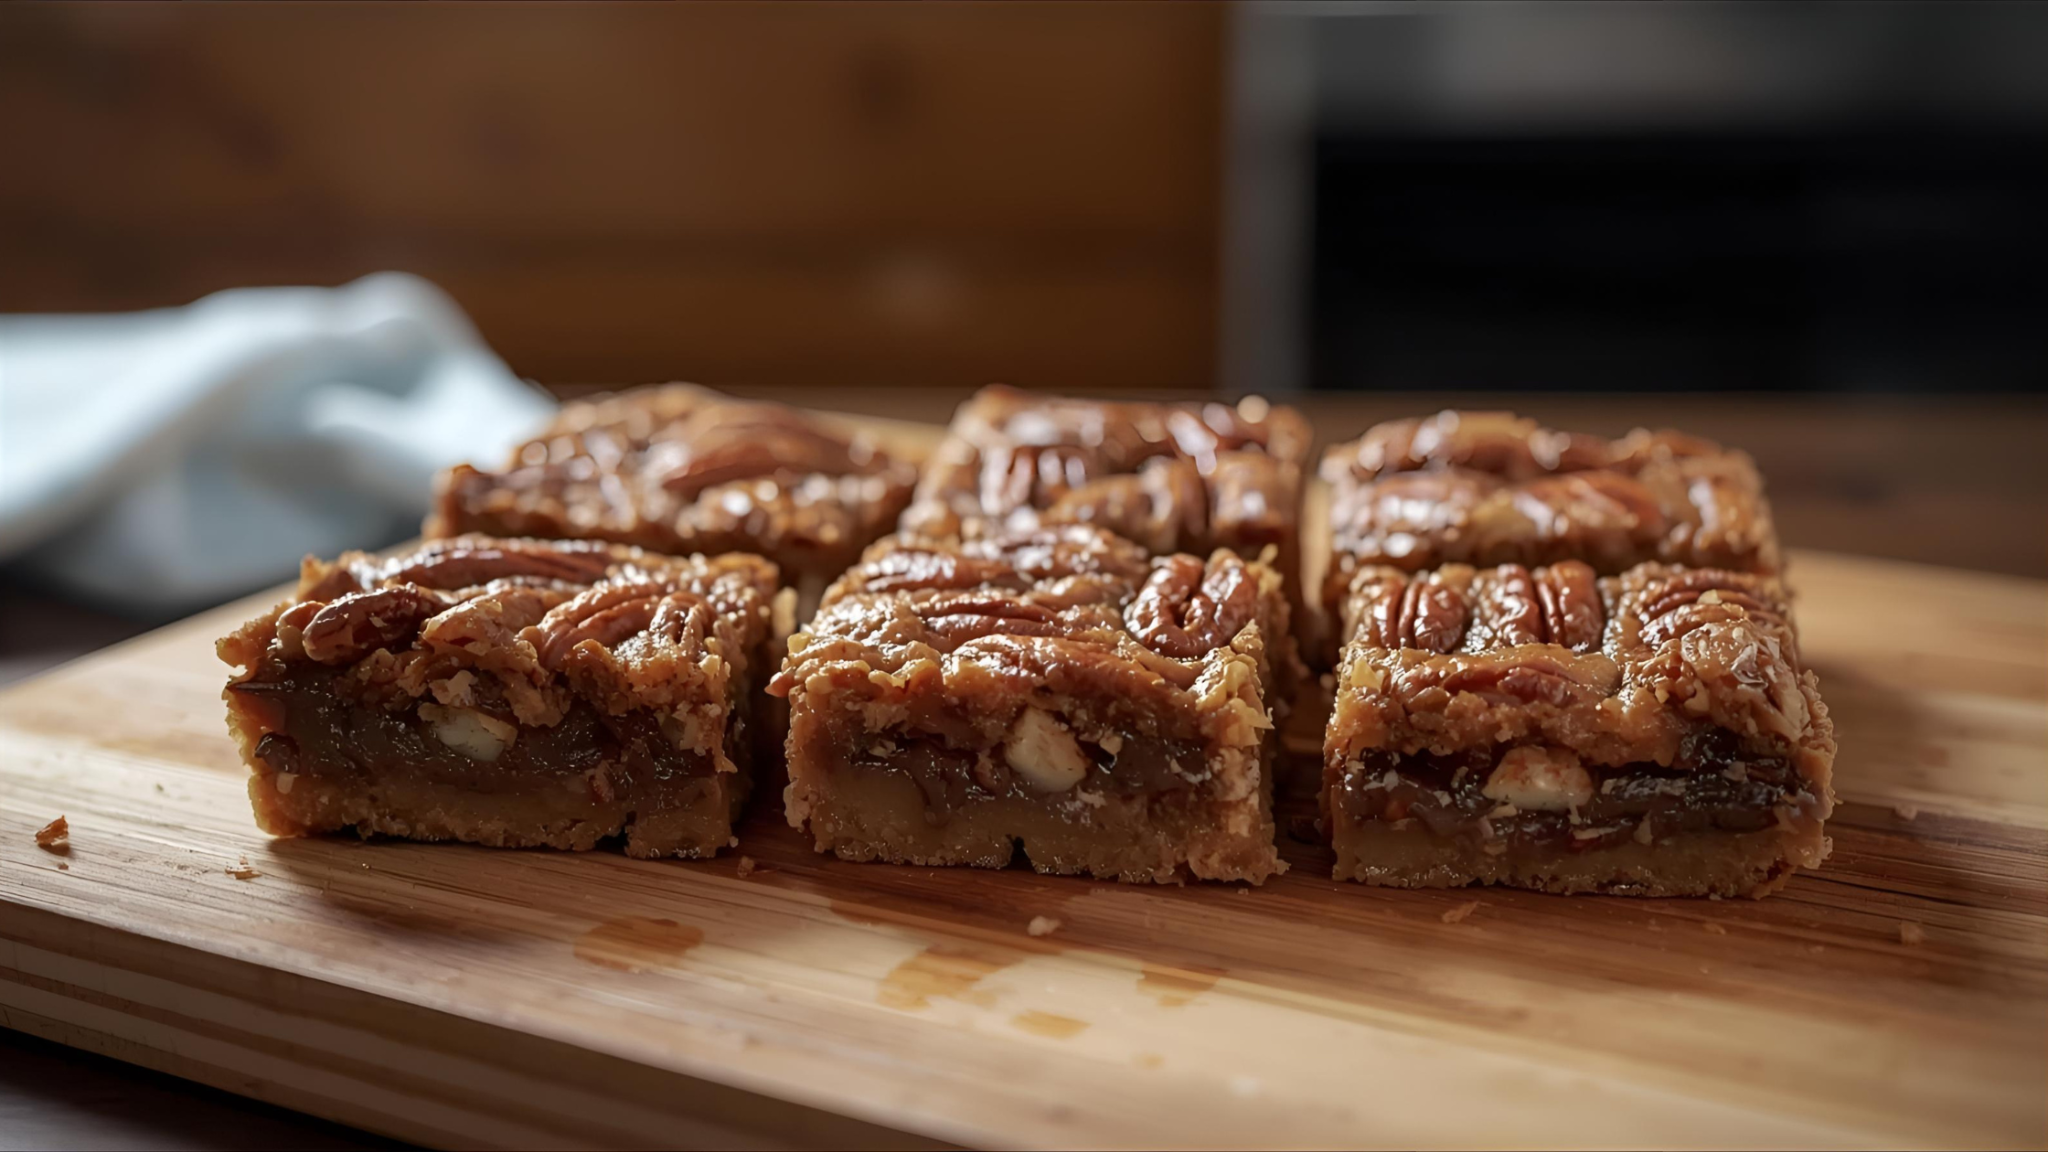
All the flavors of pecan pie but in easy squares that cool quickly for tiny hands.
Ingredients:
- 1 cup flour
- 1/2 cup butter, softened
- 1/4 cup sugar
- 2/3 cup corn syrup
- 1/2 cup brown sugar
- 2 eggs
- 1 tsp vanilla
- 1 1/2 cups chopped pecans
Procedure:
- Preheat oven to 350°F (175°C).
- Mix flour, butter, and sugar; press into a greased 9×9-inch pan.
- Bake crust for 10 minutes.
- In a bowl, whisk corn syrup, brown sugar, eggs, and vanilla.
- Stir in pecans and pour over crust.
- Bake for 25–30 minutes until set. Cool and cut into bars.
7. Cinnamon Roll Pumpkin Trifles
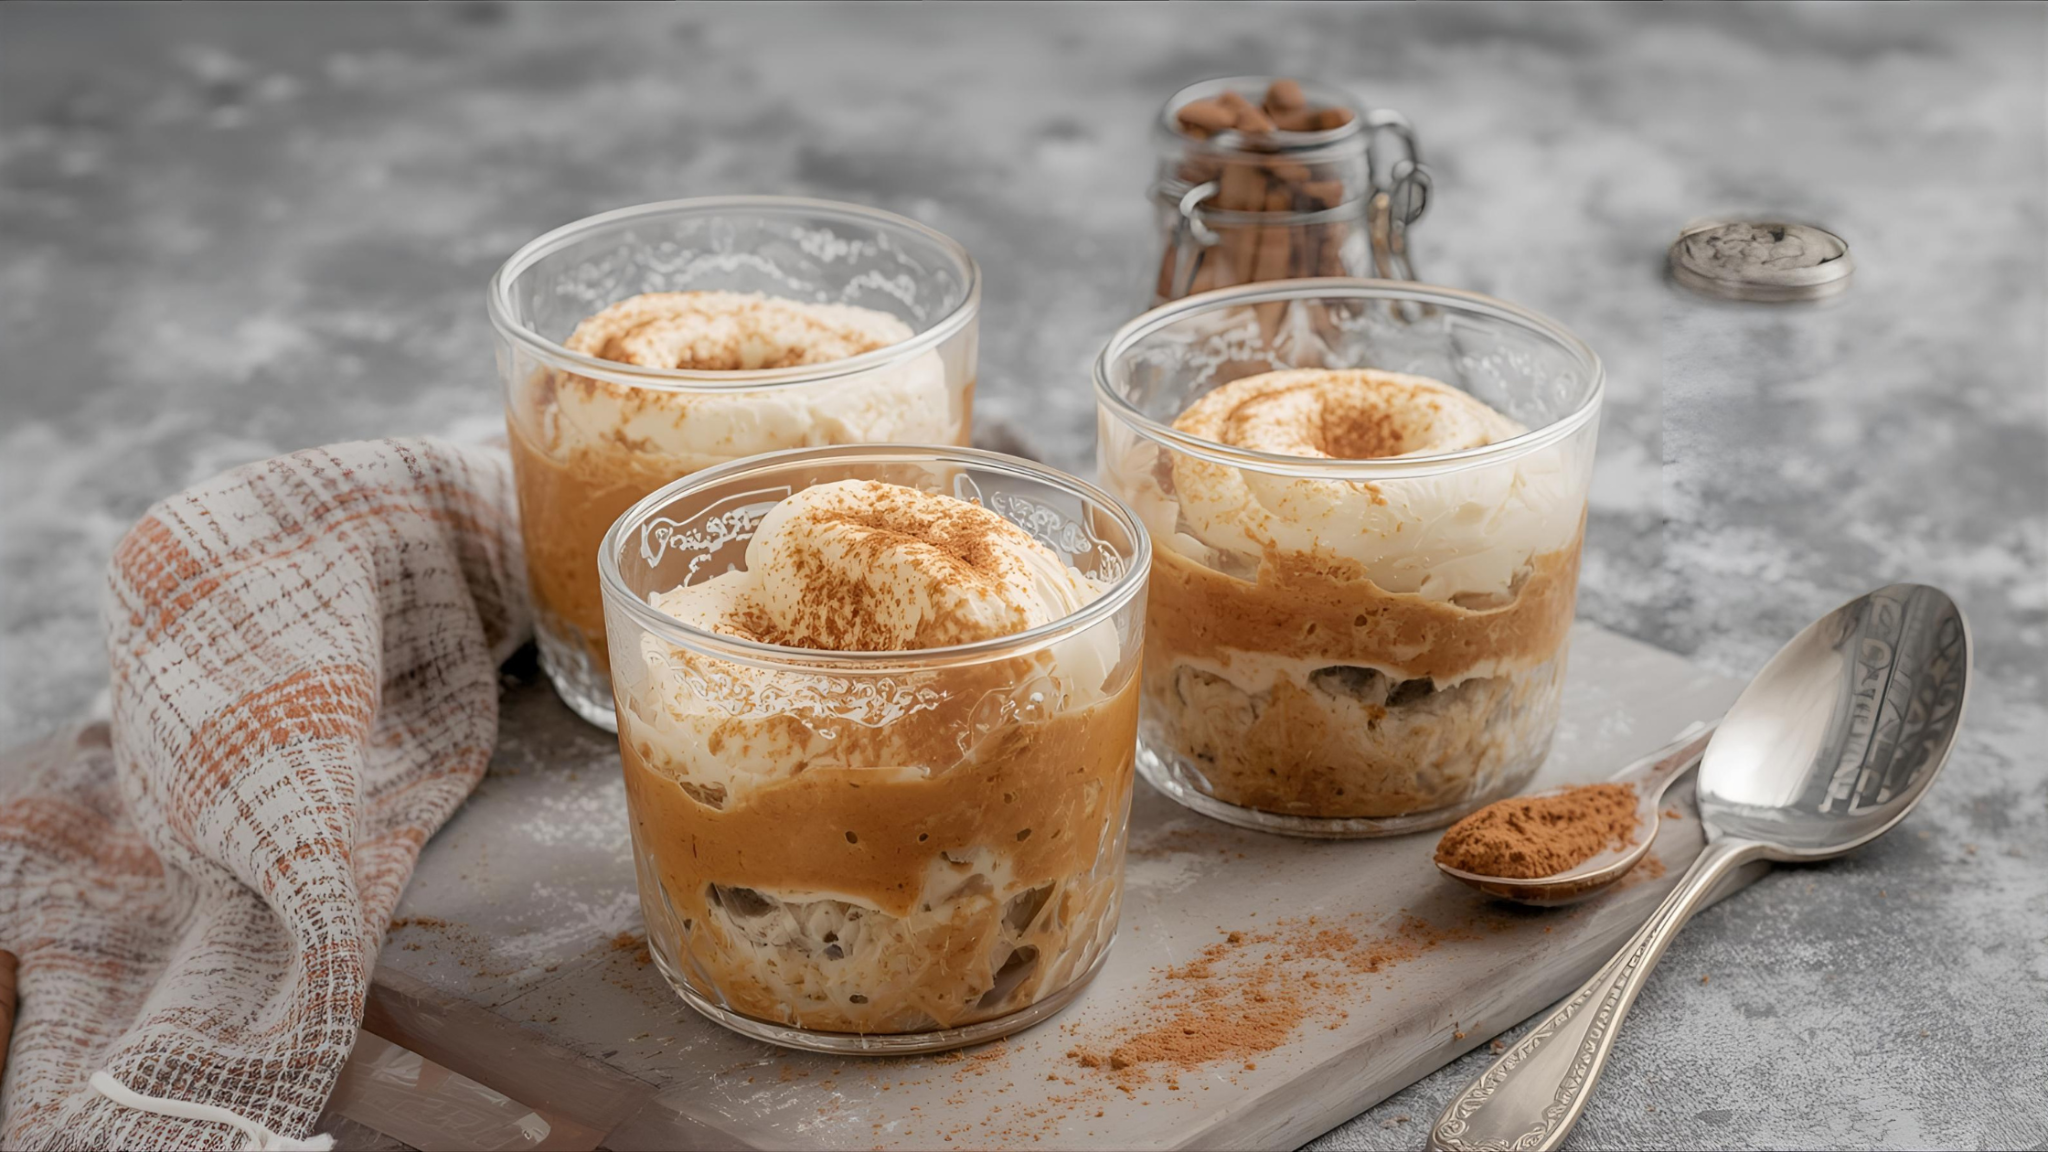
These layered cups look fancy but are as easy as stacking store-bought cinnamon rolls with pumpkin pudding.
Ingredients:
- 1 can refrigerated cinnamon rolls, baked
- 1 box instant pumpkin pudding mix
- 2 cups milk
- Whipped cream for topping
Procedure:
- Bake cinnamon rolls according to package; cut into bite-sized pieces.
- Whisk pudding mix with milk until thick.
- Layer cinnamon roll pieces, pumpkin pudding, and whipped cream in small cups or jars.
- Repeat layers and finish with a dollop of whipped cream.
8. Chocolate-Dipped Marshmallow Pops
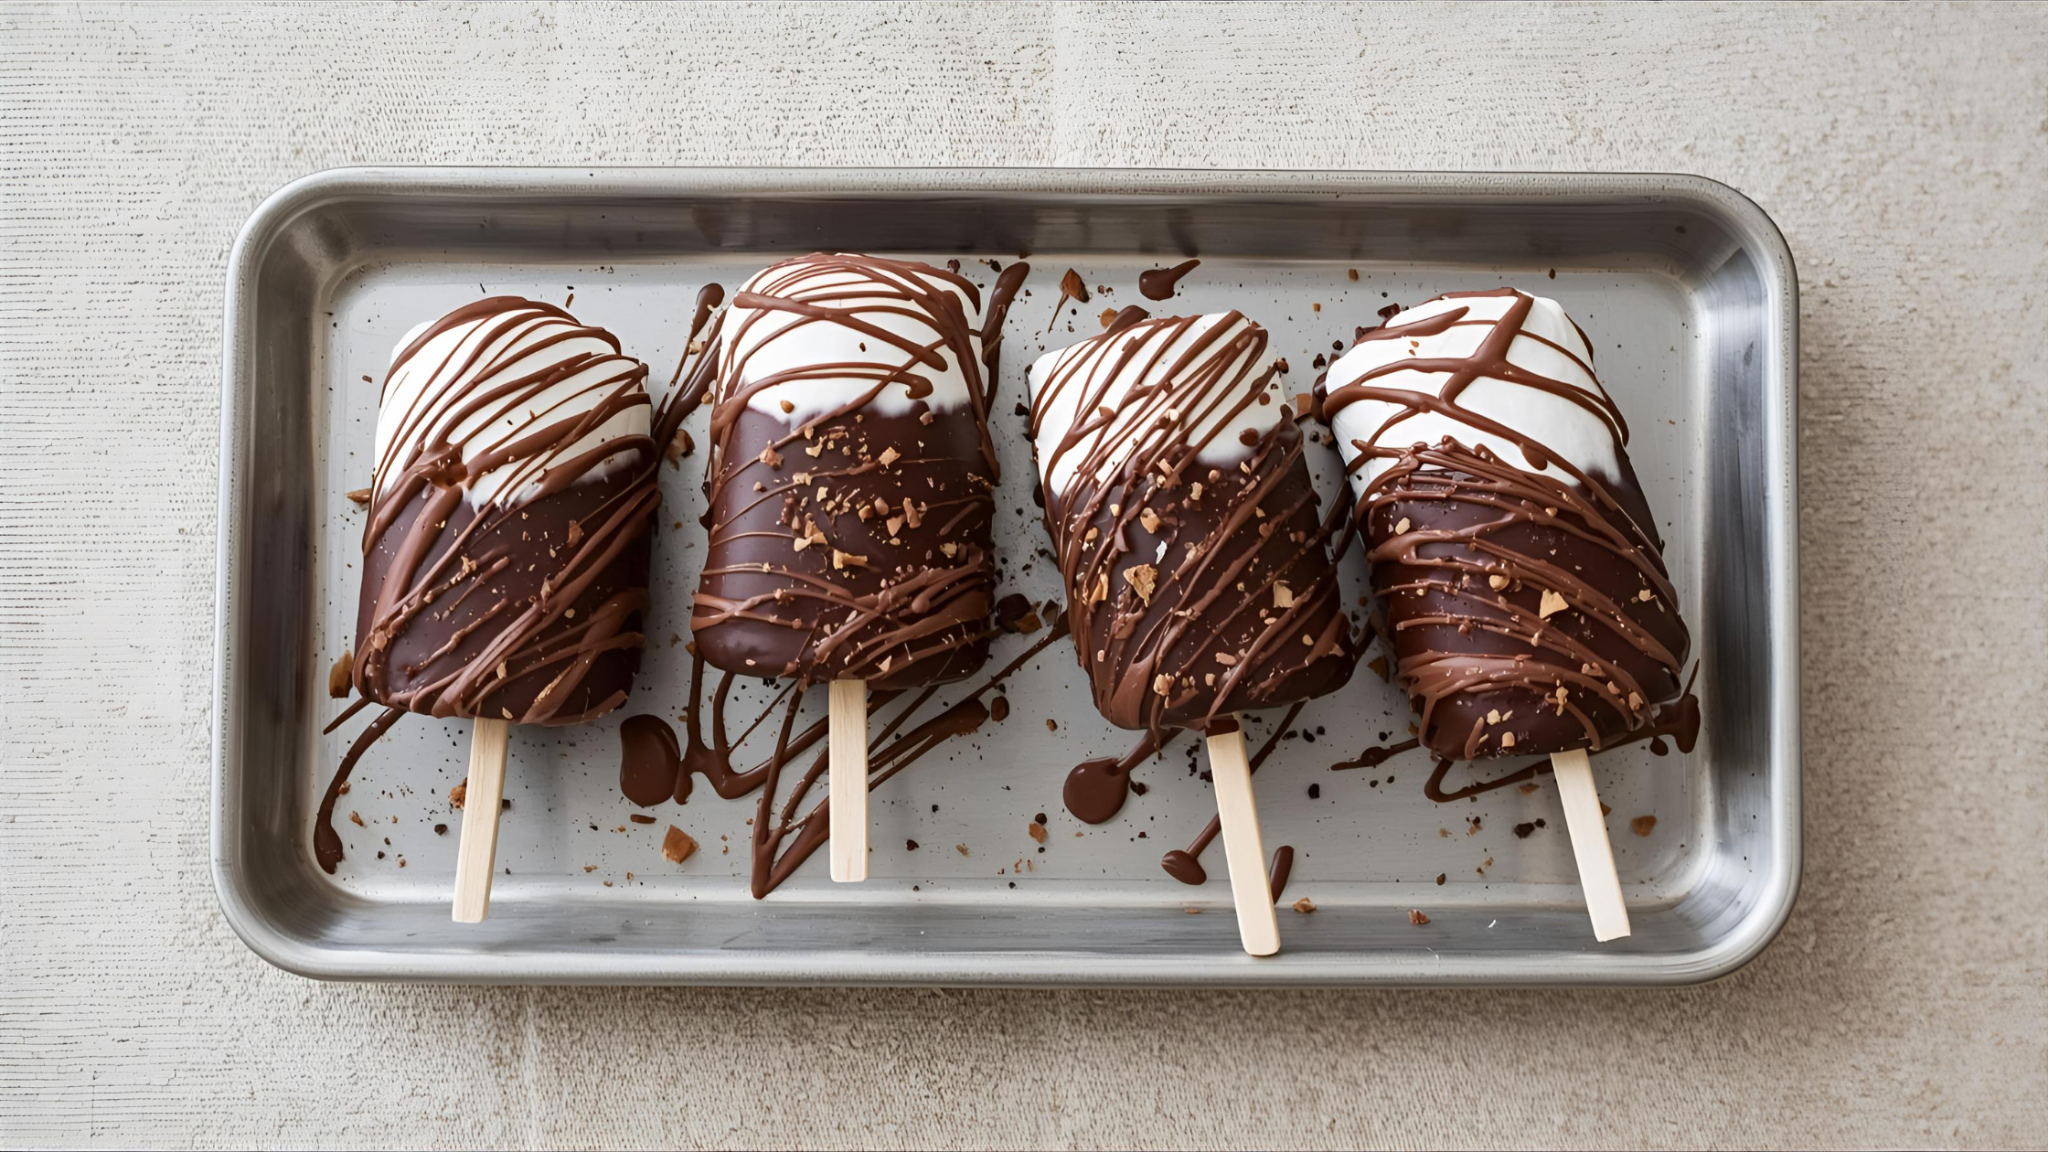
These are toddler-friendly and double as edible decorations for your dessert table.
Ingredients:
- 12 large marshmallows
- 1 cup chocolate chips
- Assorted sprinkles
- Lollipop sticks
Procedure:
- Melt chocolate chips in a microwave-safe bowl.
- Insert sticks into marshmallows.
- Dip marshmallows into melted chocolate.
- Immediately sprinkle with colorful toppings.
- Place on parchment to set.
9. Sweet Potato Cupcakes With Cream Cheese Frosting
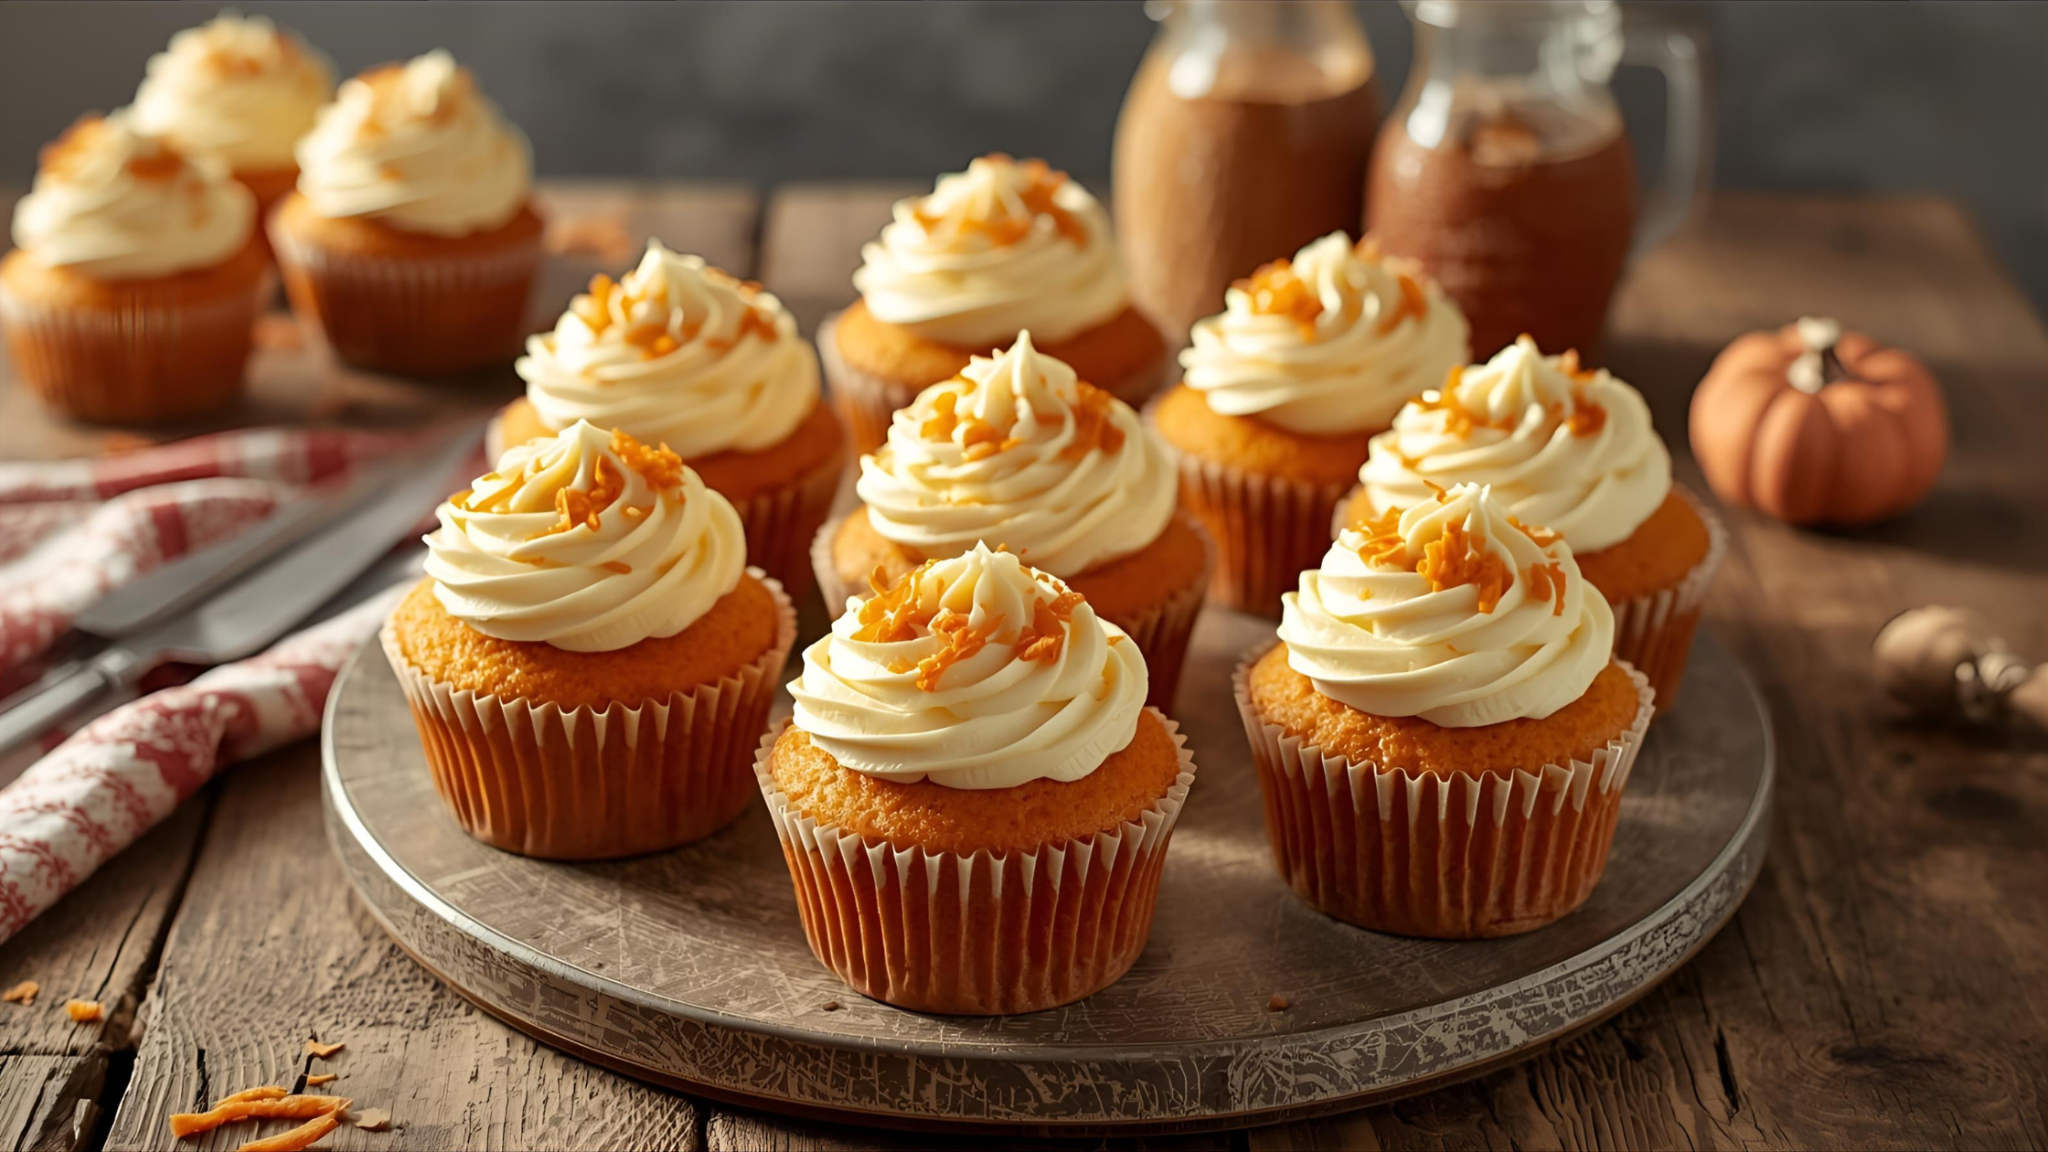
A fun twist on a Thanksgiving side dish — sweet potatoes become a moist cupcake base.
Ingredients:
- 1 cup mashed sweet potato
- 1/2 cup butter, softened
- 1 cup sugar
- 2 eggs
- 1 1/2 cups flour
- 1 tsp baking powder
- 1/2 tsp cinnamon
- Cream cheese frosting (store-bought or homemade)
Procedure:
- Preheat oven to 350°F (175°C).
- Cream butter and sugar; beat in eggs and mashed sweet potato.
- Stir in flour, baking powder, and cinnamon.
- Divide into lined muffin tins.
- Bake 18–20 minutes until a toothpick comes out clean.
- Cool and frost with cream cheese frosting.
10. Rice Krispie Treat Turkey Nests
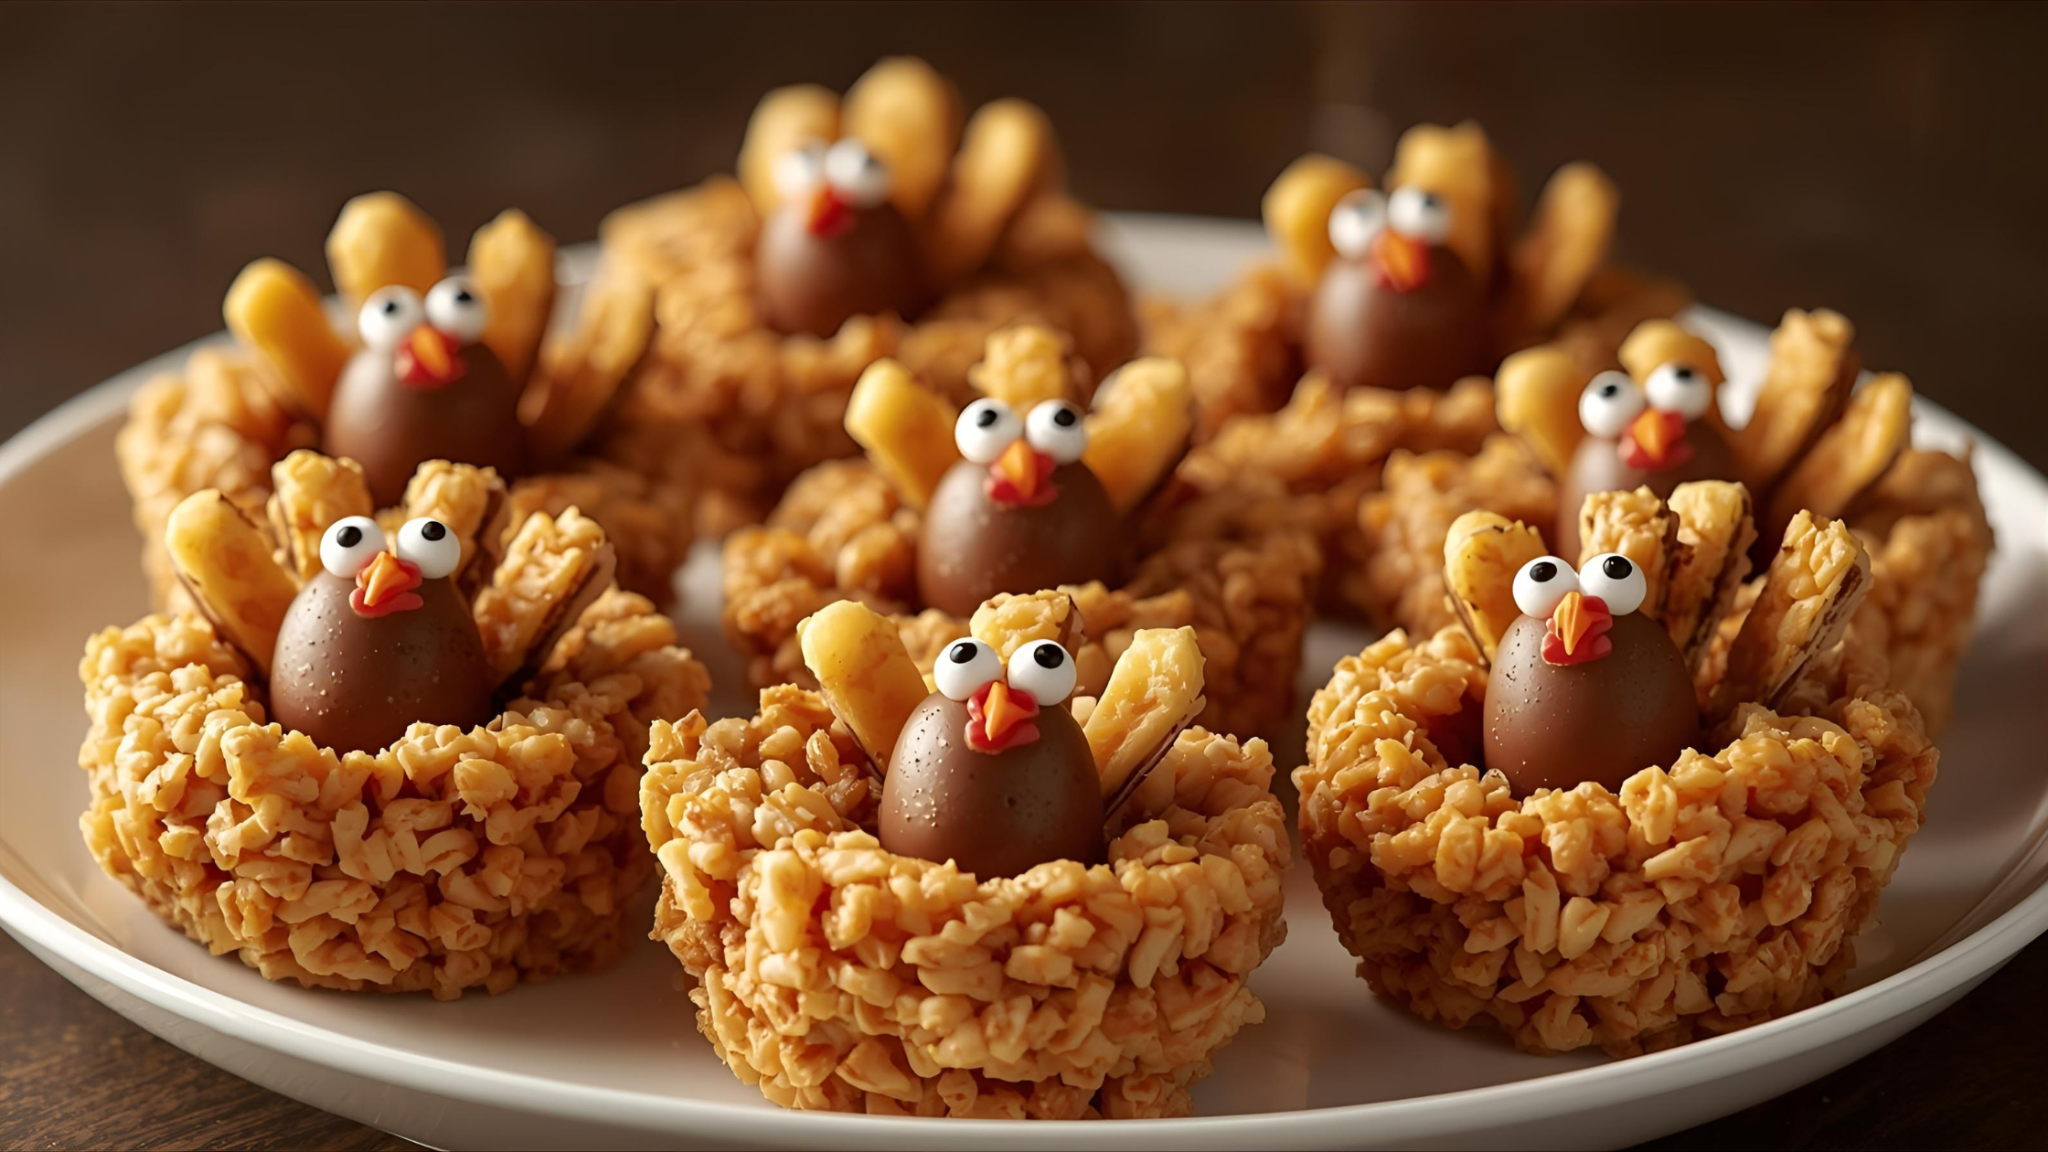
These crunchy little nests hold candy “eggs” or mini chocolate treats — my son loves pressing the cereal into muffin cups.
Ingredients:
- 3 tbsp butter
- 4 cups mini marshmallows
- 6 cups Rice Krispies cereal
- Mini candy eggs or chocolate chips
Procedure:
- Melt butter in a large pot; add marshmallows and stir until smooth.
- Remove from heat and stir in cereal.
- Press mixture into greased muffin tins to form nests.
- Add candy eggs while still slightly warm so they stick.
11. Mini Cranberry Cheesecakes in Muffin Tins
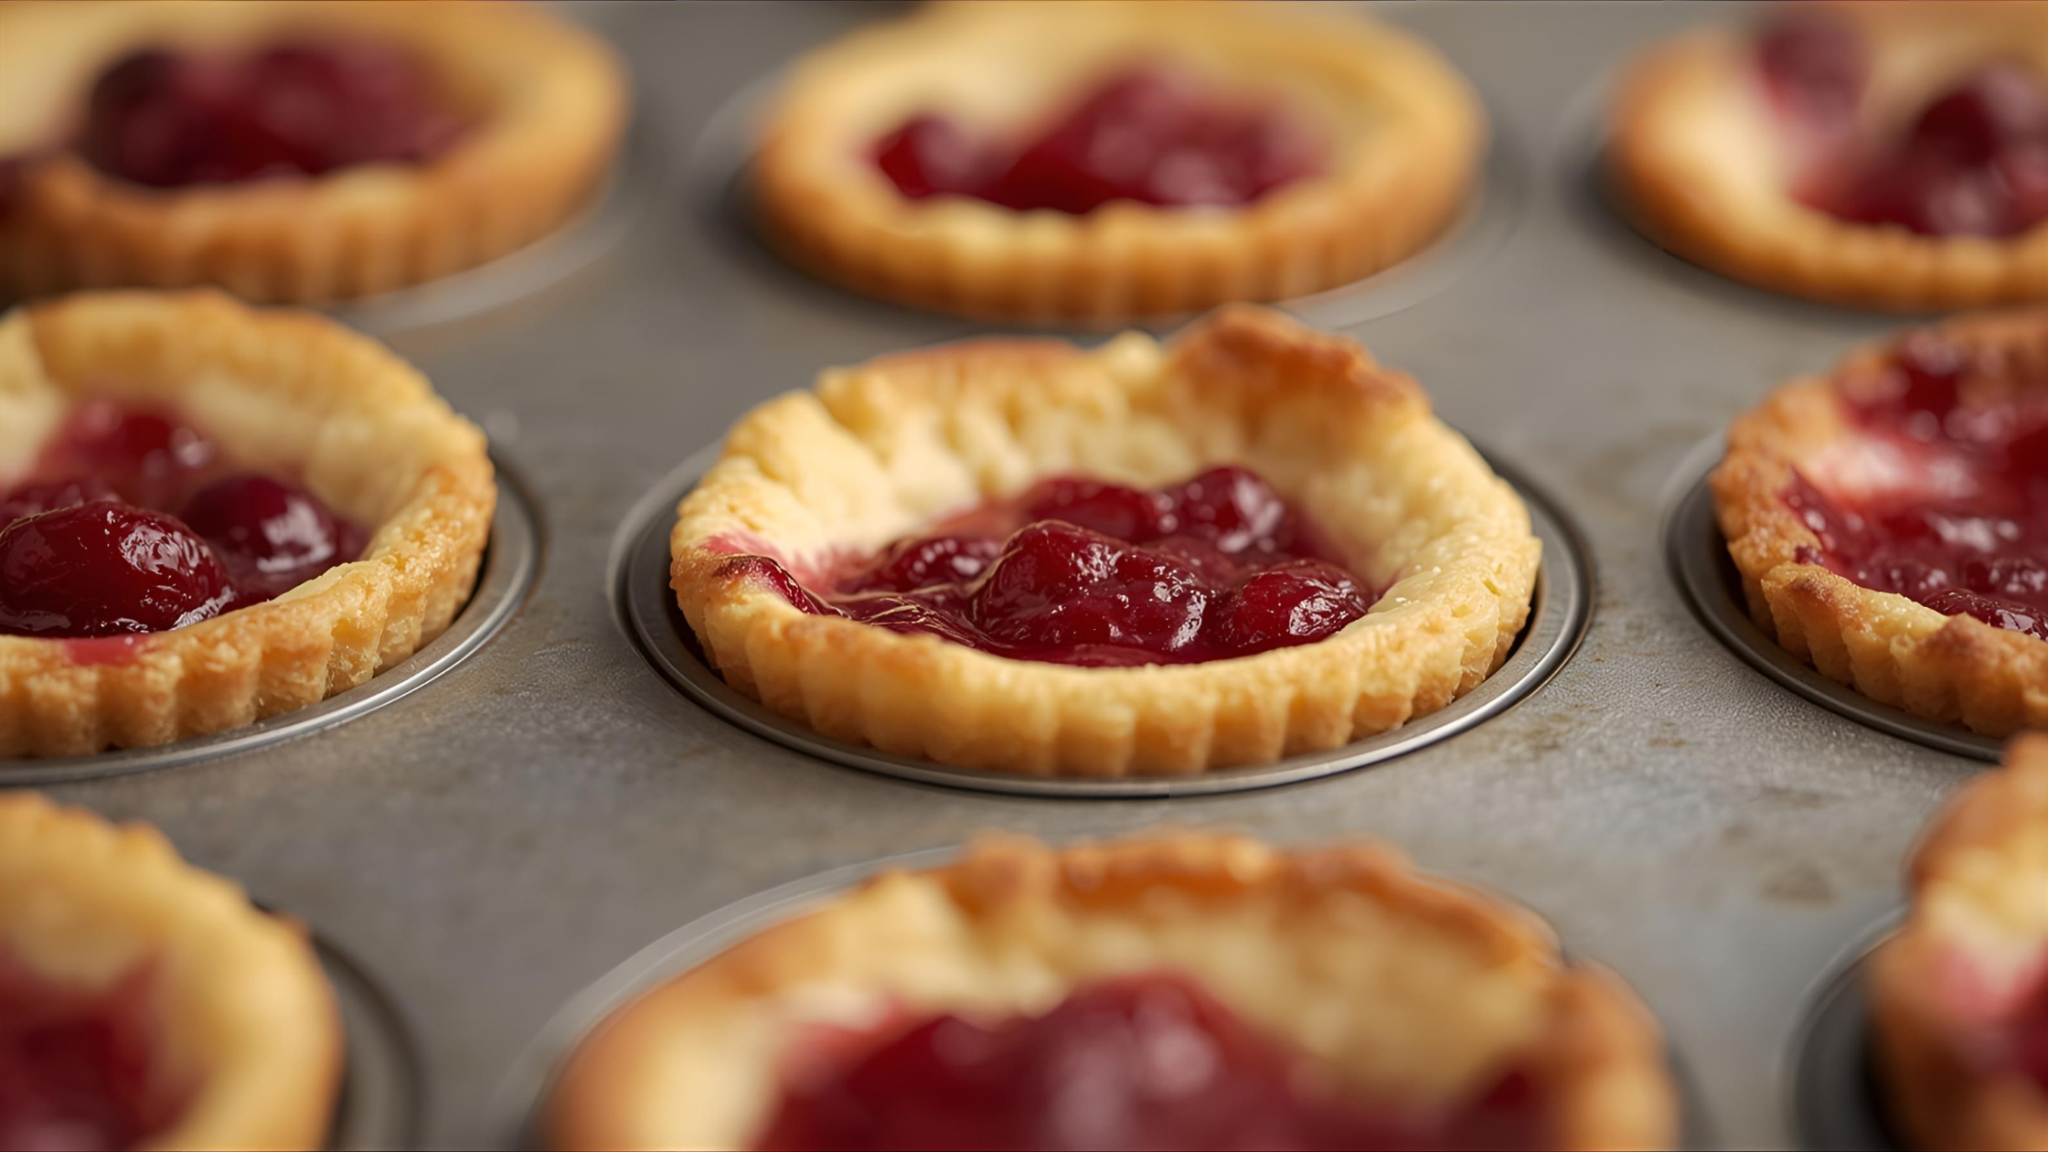
These tangy mini cheesecakes are bright and festive — plus, easy to serve.
Ingredients:
- 12 vanilla wafer cookies
- 8 oz cream cheese, softened
- 1/3 cup sugar
- 1 egg
- 1 tsp vanilla
- 1/2 cup cranberry sauce
Procedure:
- Preheat oven to 325°F (160°C).
- Line a muffin tin with paper liners and place a wafer cookie at the bottom of each.
- Beat cream cheese, sugar, egg, and vanilla until smooth.
- Spoon mixture over wafers.
- Bake 15–18 minutes until set.
- Cool and top with cranberry sauce.
12. Build-Your-Own Thanksgiving Dessert Platter
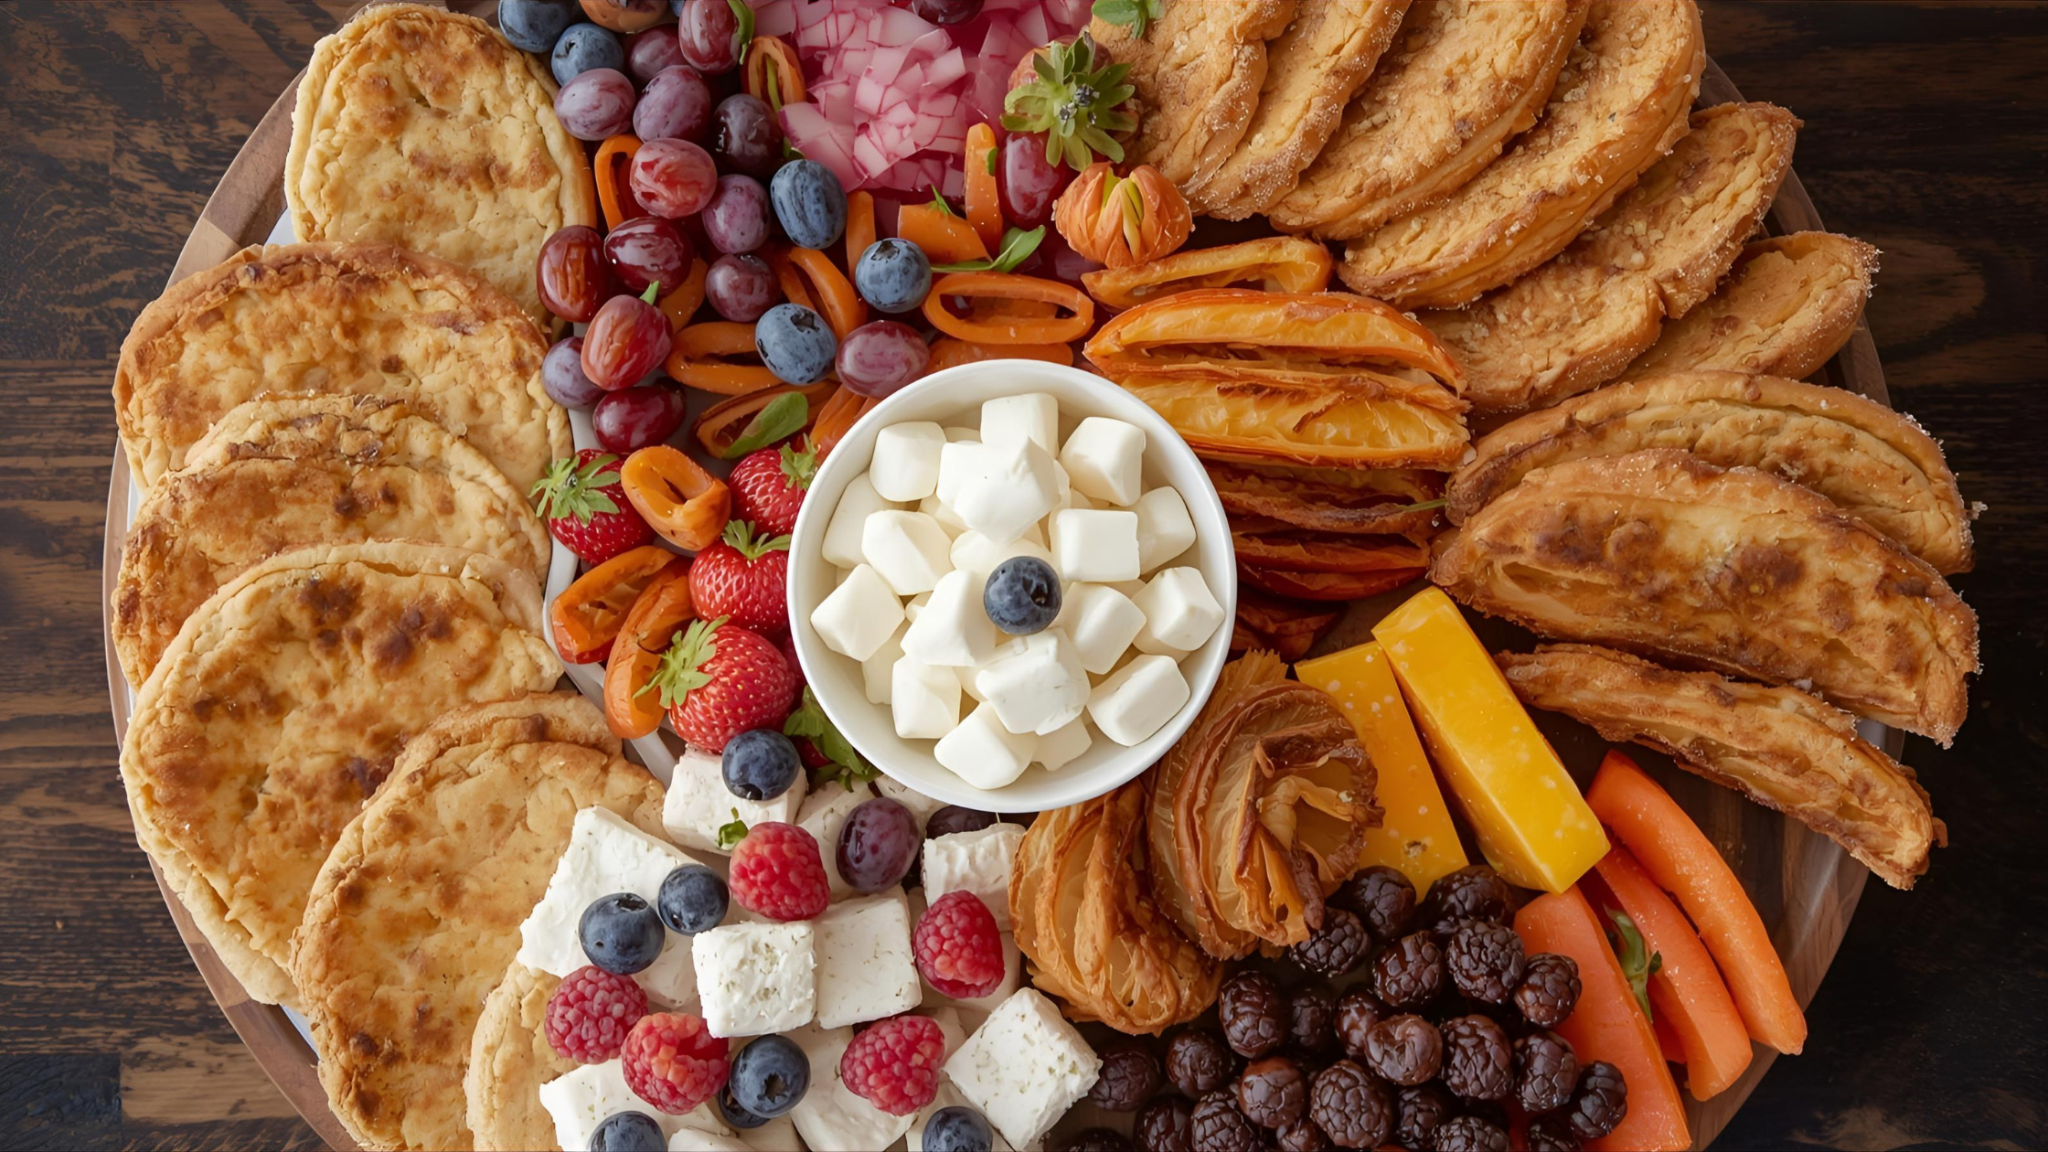
When you’re not sure what everyone wants, let the kids help build a platter of little sweets for guests to grab.
Ingredients:
- An assortment of store-bought or homemade mini treats (cookies, brownies, candy corn, fruit, etc.)
- Small bowls for dips like caramel or chocolate sauce
Procedure:
- Arrange different treats on a large platter or board.
- Add small bowls of dips and spreads.
- Let your child help place items and choose the layout.
- Cover until ready to serve.
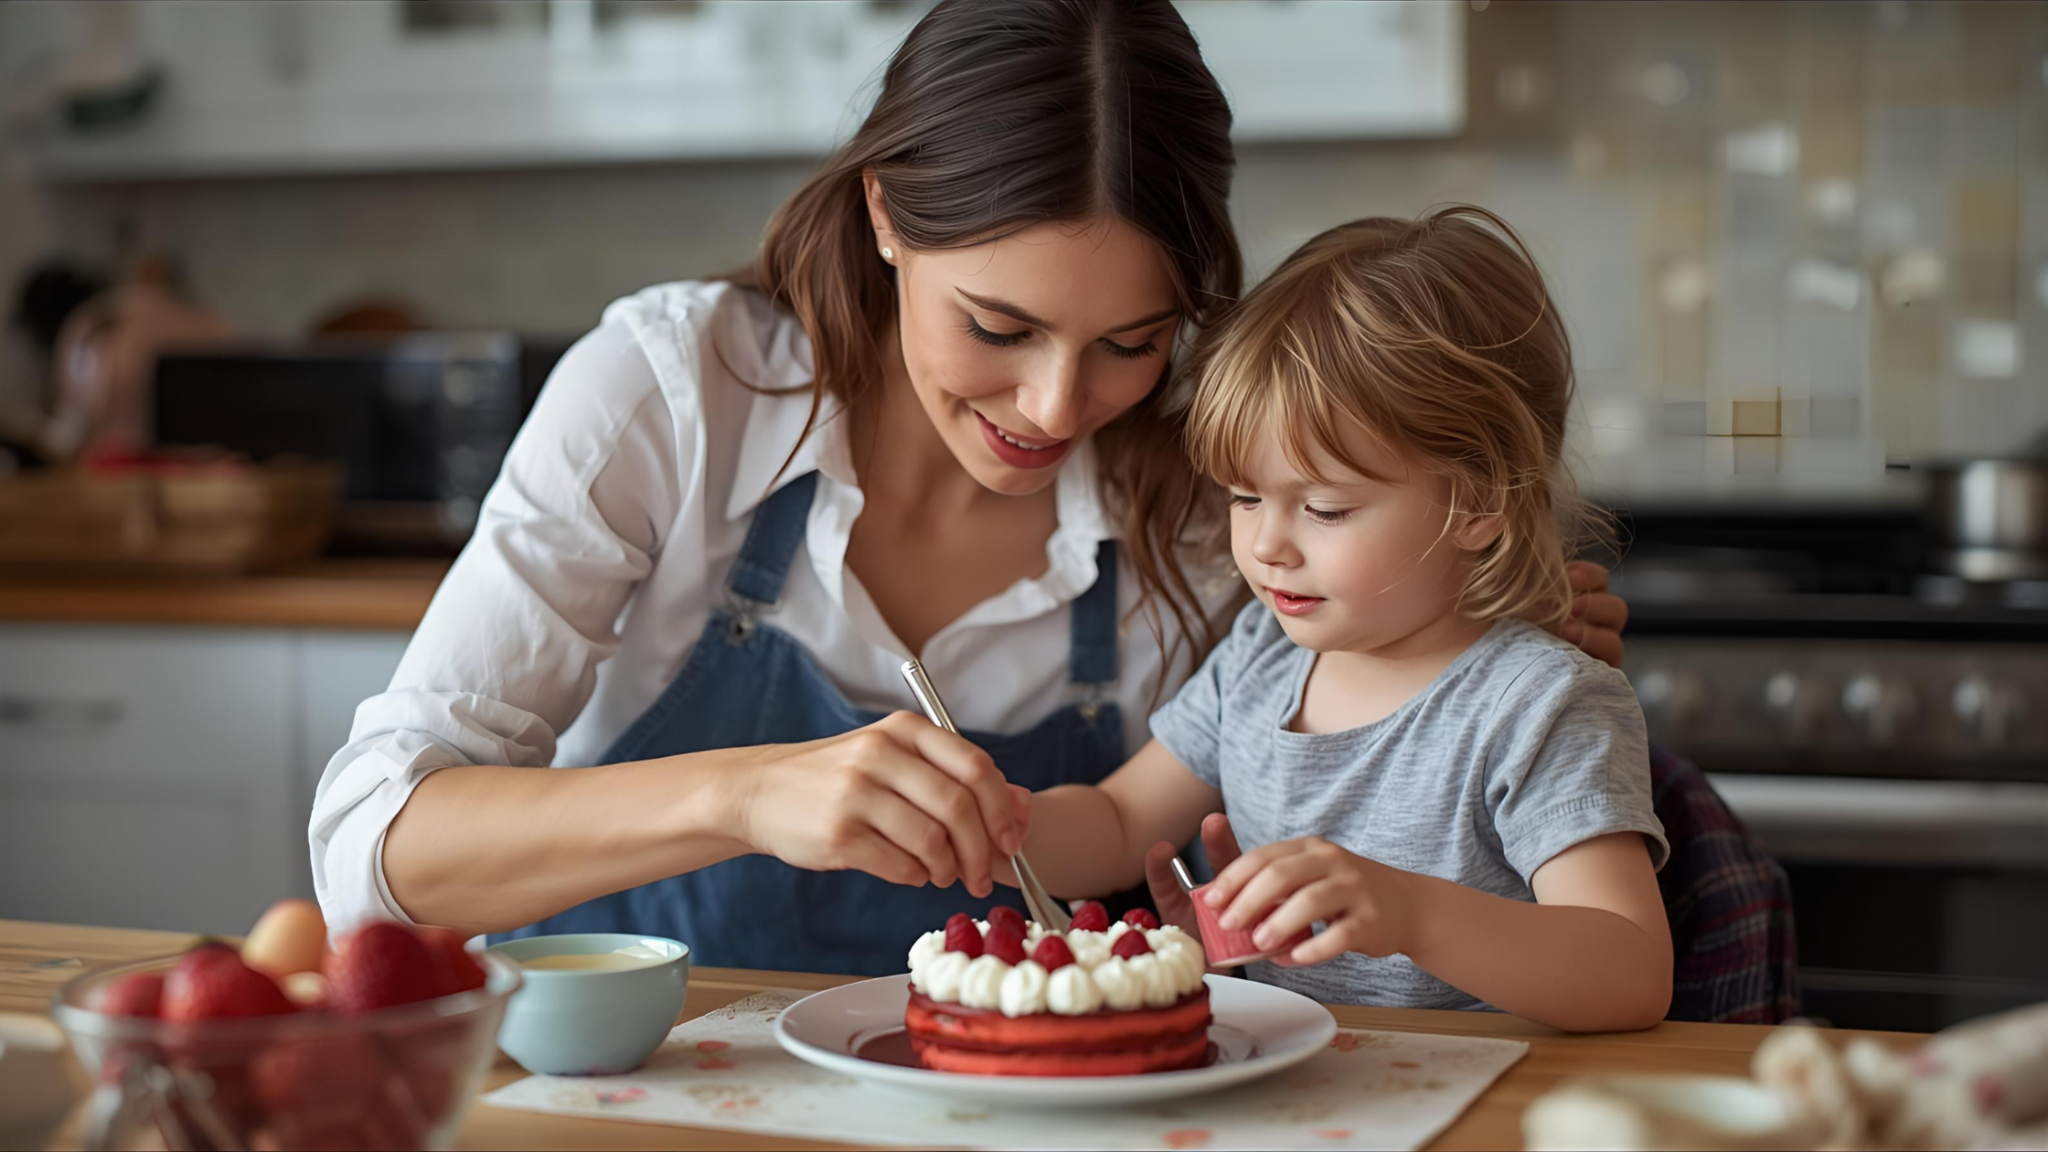
Decorating and Presenting Desserts With Kids
Once the baking is done, the real fun begins — decorating and presenting! This is my two-year-old’s favorite part because it feels like arts and crafts but ends in a treat.
These simple ideas make desserts look festive without turning your kitchen upside down.
- Set up a mini decorating station with small bowls of sprinkles, mini candies, and safe utensils your child can handle.
- Use squeeze bottles or zip-top bags for icing to give your little one more control and less mess.
- Stick to two or three colors of icing or sprinkles to keep things from looking (and feeling) overwhelming.
- Give each dessert a “job” — for example, your child can sprinkle cinnamon sugar while you pipe frosting.
- Add edible toppers like fruit slices, candy eyes, or cookie crumbs to turn plain treats into festive characters.
- Arrange desserts at kid height so your helper can proudly place finished items on the platter or tray.
- Use themed paper liners or plates to instantly dress up cupcakes and bars without extra work.
- Teach simple patterns (like stripes or dots) to make decorating feel like a game.
- Name each creation together — toddlers love giving their decorated treats silly names before serving.
- Let your child help serve family or guests; it boosts confidence and makes them part of the celebration.
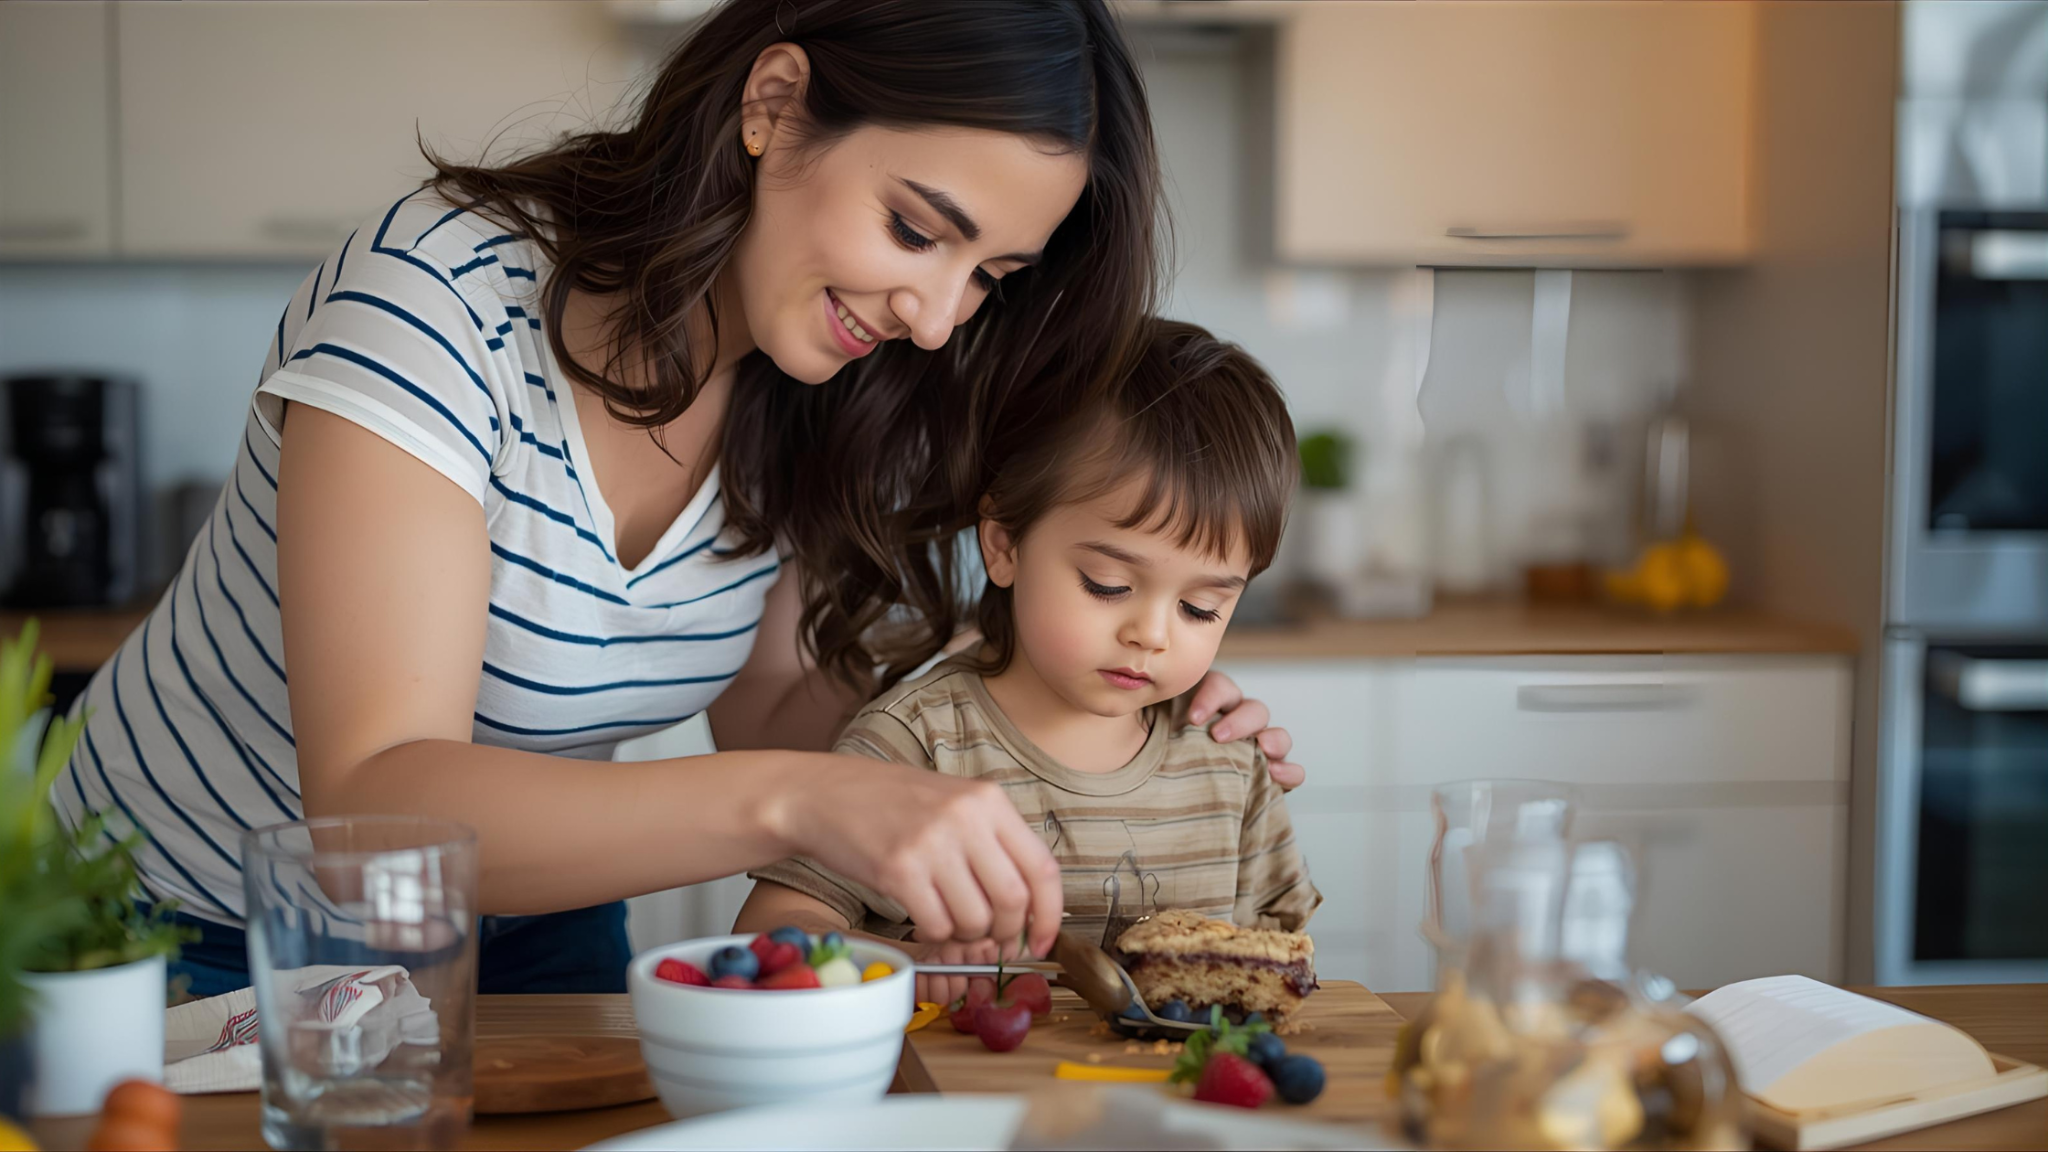
Wrapping Up Your Thanksgiving Baking Session
After the mixing, baking, and decorating, it’s time to slow down and wrap things up. I’ve learned that ending on a calm, happy note helps my two-year-old feel proud of what we made and keeps me from feeling overwhelmed.
Here are a few simple ways to finish your baking day together:
- Take a moment to admire your work — point out to your child all the treats you created together.
- Snap a quick photo of your desserts (and your helper) to remember the moment.
- Do a gentle taste test so your toddler can celebrate the finished product.
- Involve your child in the clean-up with easy tasks like wiping the table or putting sprinkles back.
- Package up extras in small boxes or bags to give to family, neighbors, or friends.
- Label treats together — let your little one add stickers or draw on tags for a personal touch.
- Store desserts properly so they stay fresh for the big meal.
- Talk about the fun parts of baking while you tidy up — it helps cement positive memories.
- Create a “baking basket” with your child’s apron, tools, and favorite recipes ready for next time.
- End with gratitude — a short thank-you prayer or simple “We did it!” to make your toddler feel proud.
Conclusion
Baking Thanksgiving desserts with my two-year-old has become one of our sweetest holiday traditions. It’s not about perfect pastries or picture-worthy pies; it’s about giggles, sticky fingers, and the memories we make while stirring, sprinkling, and tasting together.
So, whether you try one recipe or all twelve (How I wish), I hope these ideas help you slow down, connect with your little one, and create desserts that feel as joyful to make as they are to eat.
Have a sweet Thanksgiving day!