
As a mom of a curious little boy, I know how tricky it can be to keep our homes looking festive without spending hours on complicated projects. That’s exactly why I’ve fallen in love with doing crafts with my little boy
One of my favorites during fall season are scarecrow crafts! They’re cute, easy to make, and perfect for little hands to “help” with. In this post, I’m sharing 12 of my favorite scarecrow crafts that have brightened up our home and kept my toddler happily busy.
Whether you’re brand-new to crafting or just looking for fresh ideas, these simple projects will help you beat boring fall décor and bring a cozy, homemade touch to your season.
Key Takeaways
- Scarecrow crafts are simple, affordable, and beginner-friendly, even for busy moms.
- Involving your toddler in the process builds creativity, confidence, and connection.
- Preparing supplies and breaking projects into small steps keeps stress low.
- Finished crafts can double as décor, gifts, or teaching tools about the fall season.
- Crafting together turns everyday moments into meaningful family memories.
Why Scarecrow Crafts Are Perfect for Moms This Fall
Fall is such a busy season for us moms, but it’s also one of the most fun times to get creative at home. Scarecrow crafts are a simple way to bring that cozy, autumn feeling indoors without spending a lot of time or money.
- Affordable décor: Most projects use items you probably already have at home or can grab cheaply at a dollar store.
- Beginner-friendly: Even if you’re not “crafty,” these ideas are simple enough to try on a quiet afternoon.
- Toddler-approved involvement: Little ones can help with easy steps like gluing or painting, making it a bonding moment.
- Seasonal learning: Crafting scarecrows opens up fun chats about harvest time, farms, and changing seasons.
- Personalized touch: You can customize colors, fabrics, and styles to fit your own home décor.
- Flexible time commitment: Most crafts can be done in short bursts, perfect for a mom’s unpredictable schedule.
- Double-duty gifts: Finished scarecrows make adorable fall gifts for grandparents, teachers, or friends.
Essential Supplies for Scarecrow Crafts

When I first started making scarecrow crafts, I quickly learned that having the right supplies on hand makes everything smoother and less stressful. Most of these items are inexpensive and easy to find, and once you stock up, you can use them for plenty of other projects too.
- Burlap, felt, or scrap fabric for hats and clothing
- Straw, raffia, or shredded paper for “stuffing” hair and arms
- Wooden spoons, craft sticks, or mason jars as craft bases
- Hot glue gun or strong craft glue for assembling pieces
- Paints, markers, or fabric pens for adding faces and details
- Buttons, ribbons, and small accessories for decoration
- Scissors and child-safe scissors for little helpers
- Paint brushes, sponges, or stampers for easy painting
- Templates or stencils to help with cutting shapes
12 Easy Scarecrow Crafts That Beat Boring Fall Decor
I’m sharing 12 of my favorite scarecrow crafts. Each one is easy enough for beginners, budget-friendly, and perfect for making memories with your child while decorating your space for autumn.
1. Mini Mason Jar Scarecrow Centerpieces

I love this craft because it’s simple to set up and instantly turns an ordinary mason jar into a charming fall decoration. It’s great for kids because they can help paint the jar, glue on the “hair,” and choose facial expressions. It’s also a fun way to teach your little one about recycling and reusing items from around the house.
Materials Needed:
- Mason jars (any size, but small jars are easier for kids to handle)
- Acrylic paint in fall colors (orange, yellow, brown)
- Paintbrushes or sponges
- Burlap or felt scraps for hats
- Raffia or shredded paper for “hair”
- Hot glue gun or strong craft glue
- Buttons, markers, or googly eyes for facial features
Steps:
- Clean and dry the mason jars.
- Let your child paint the jars in a fall color (orange or yellow works great).
- While the paint dries, cut burlap or felt into small rectangles to form hats.
- Glue raffia or shredded paper around the jar’s rim to look like straw hair.
- Attach the burlap or felt hat over the “hair” with glue.
- Add eyes, a nose, and a stitched smile using markers, paint, or glued-on buttons.
- Fill the jar with flowers, candy, or small utensils for a finished centerpiece.
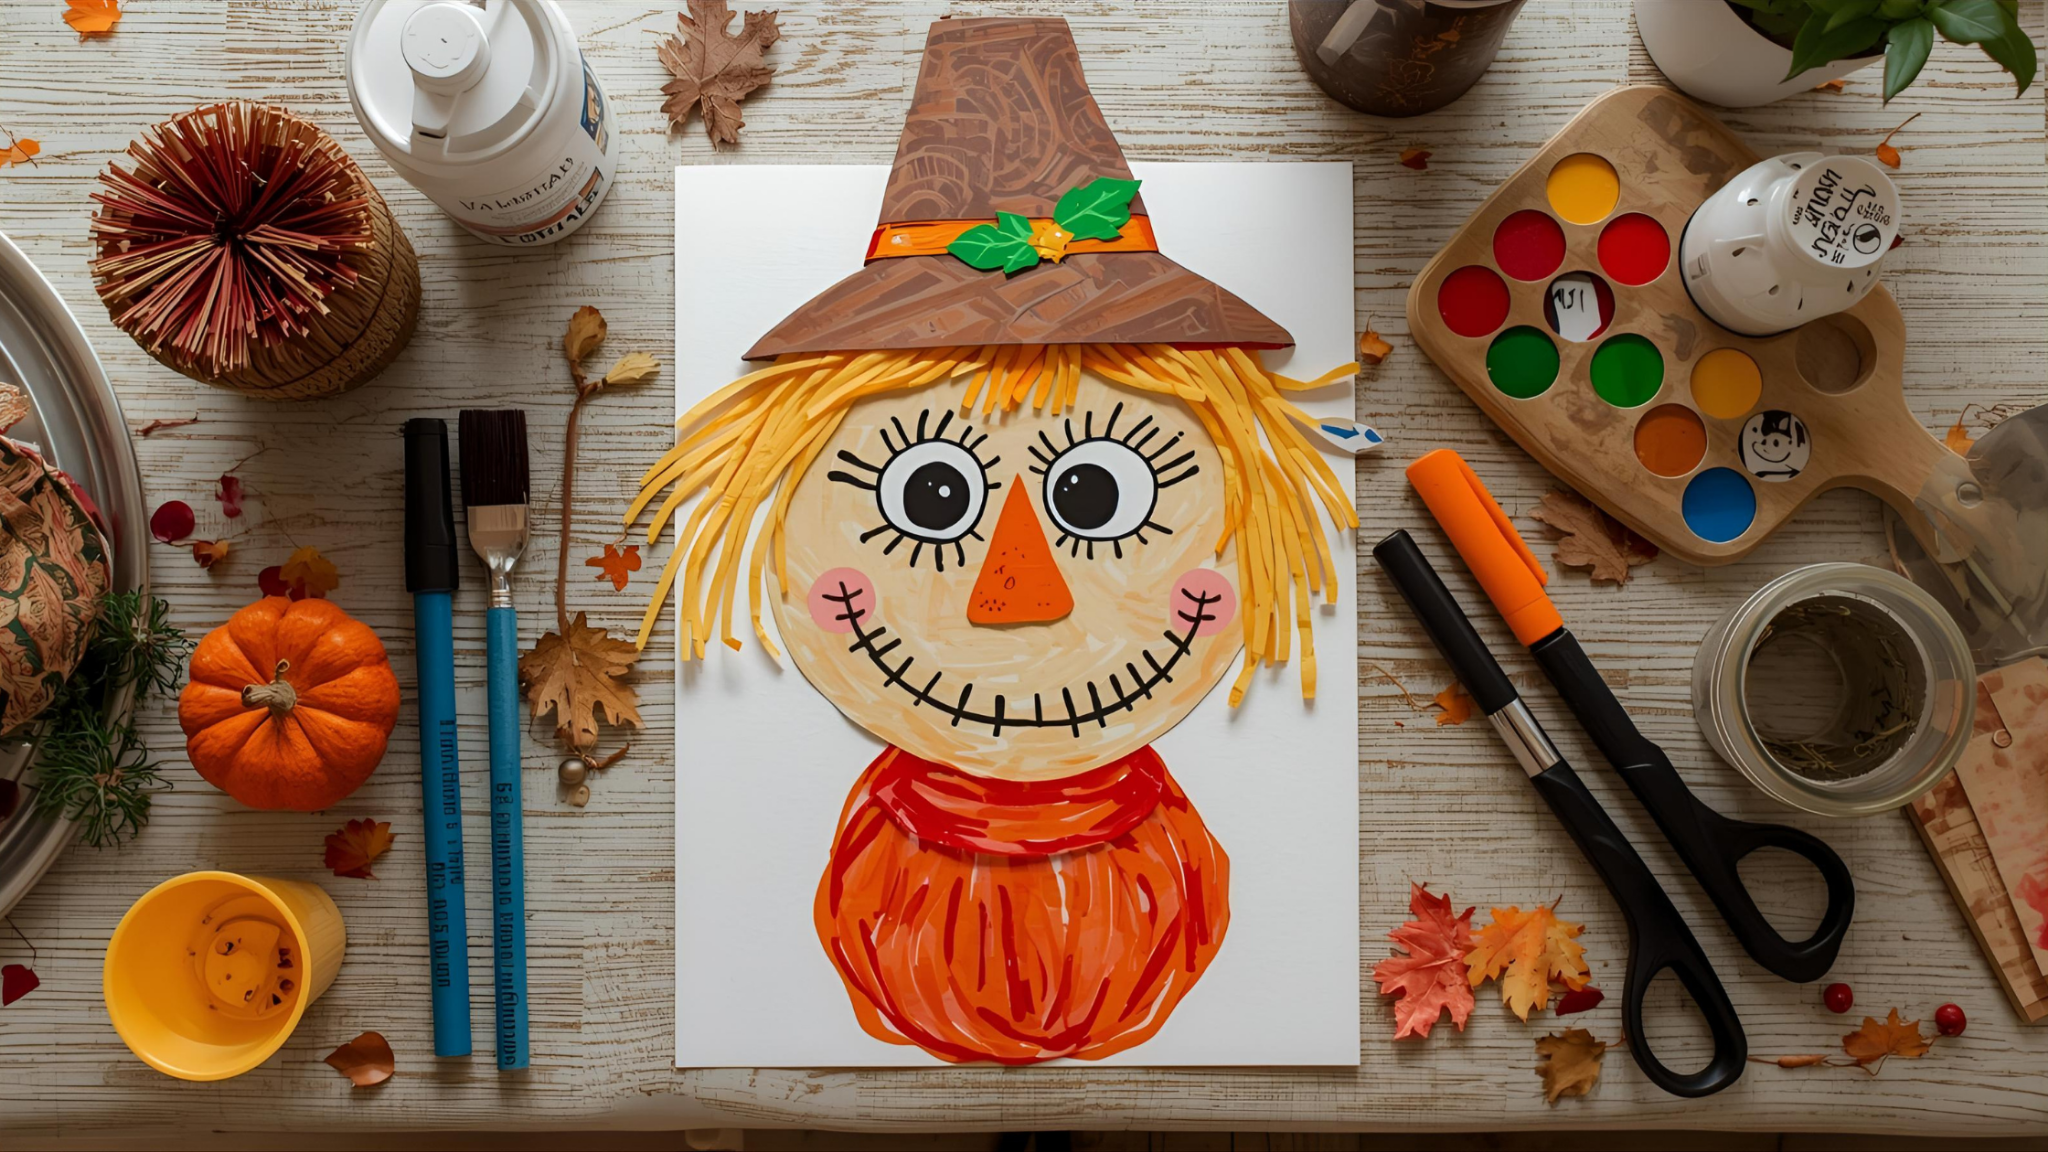
2. Adorable Scarecrow Paper Plate Faces
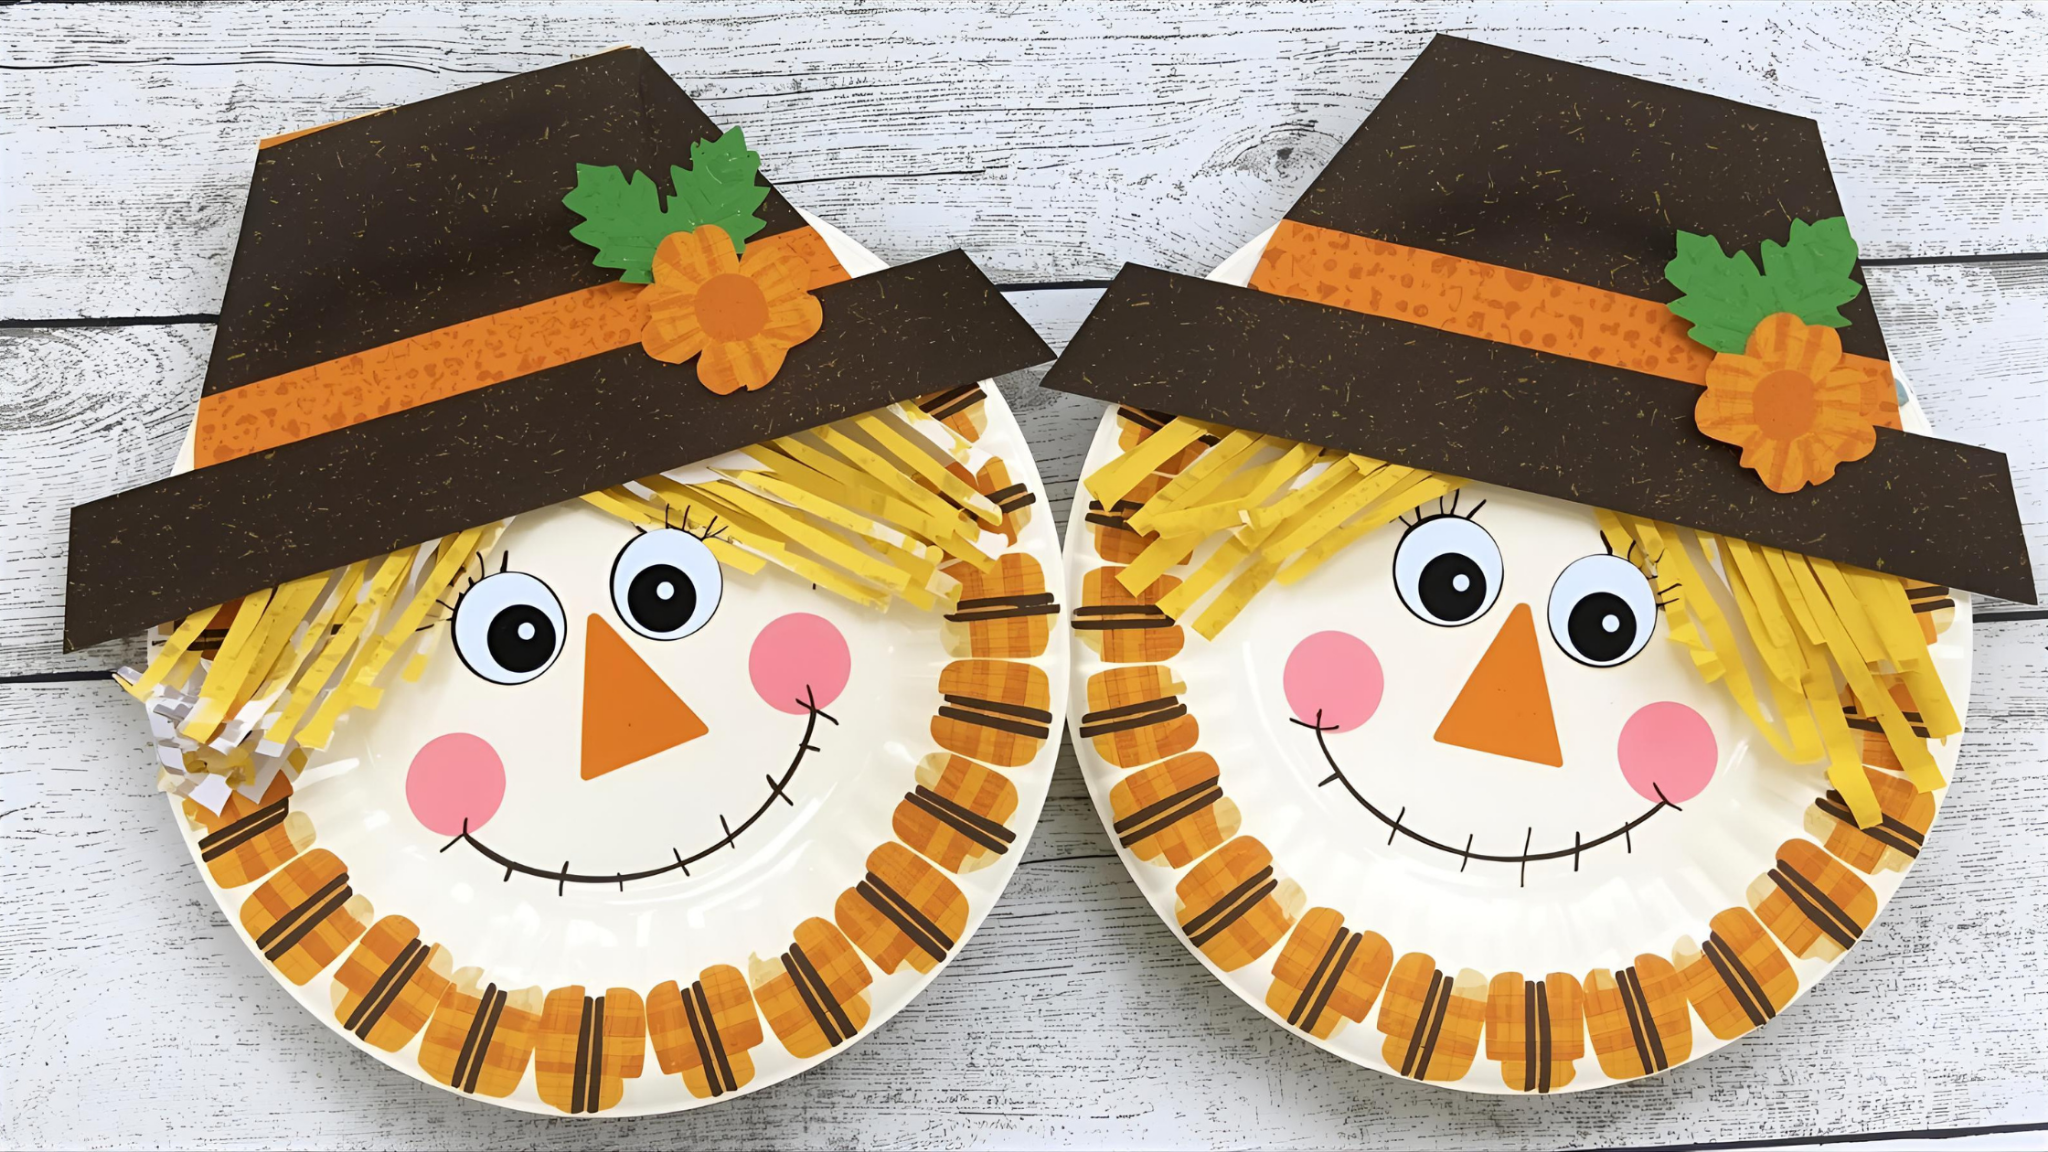
This is one of the easiest scarecrow crafts ever, and it’s perfect for toddlers because it uses large, lightweight paper plates. Little ones can help paint, glue, and even draw the faces. It’s a great way to develop fine motor skills and creativity while introducing them to fall traditions.
Materials Needed:
- Paper plates
- Acrylic paint or washable markers
- Construction paper (orange, brown, yellow)
- Raffia or yarn for “hair”
- Glue stick or craft glue
- Safety scissors
- Buttons or googly eyes
Steps:
- Paint or color the paper plate in a light tan or beige shade to create the scarecrow’s face.
- Cut out a triangle from orange paper for the nose.
- Help your child glue raffia or yarn around the edges of the plate for hair.
- Glue or draw on eyes, nose, and a stitched smile.
- Cut a hat shape from brown paper and glue it to the top of the plate.
- Let your child personalize with stickers, ribbons, or buttons.
3. Rustic Scarecrow Wreath for Your Front Door
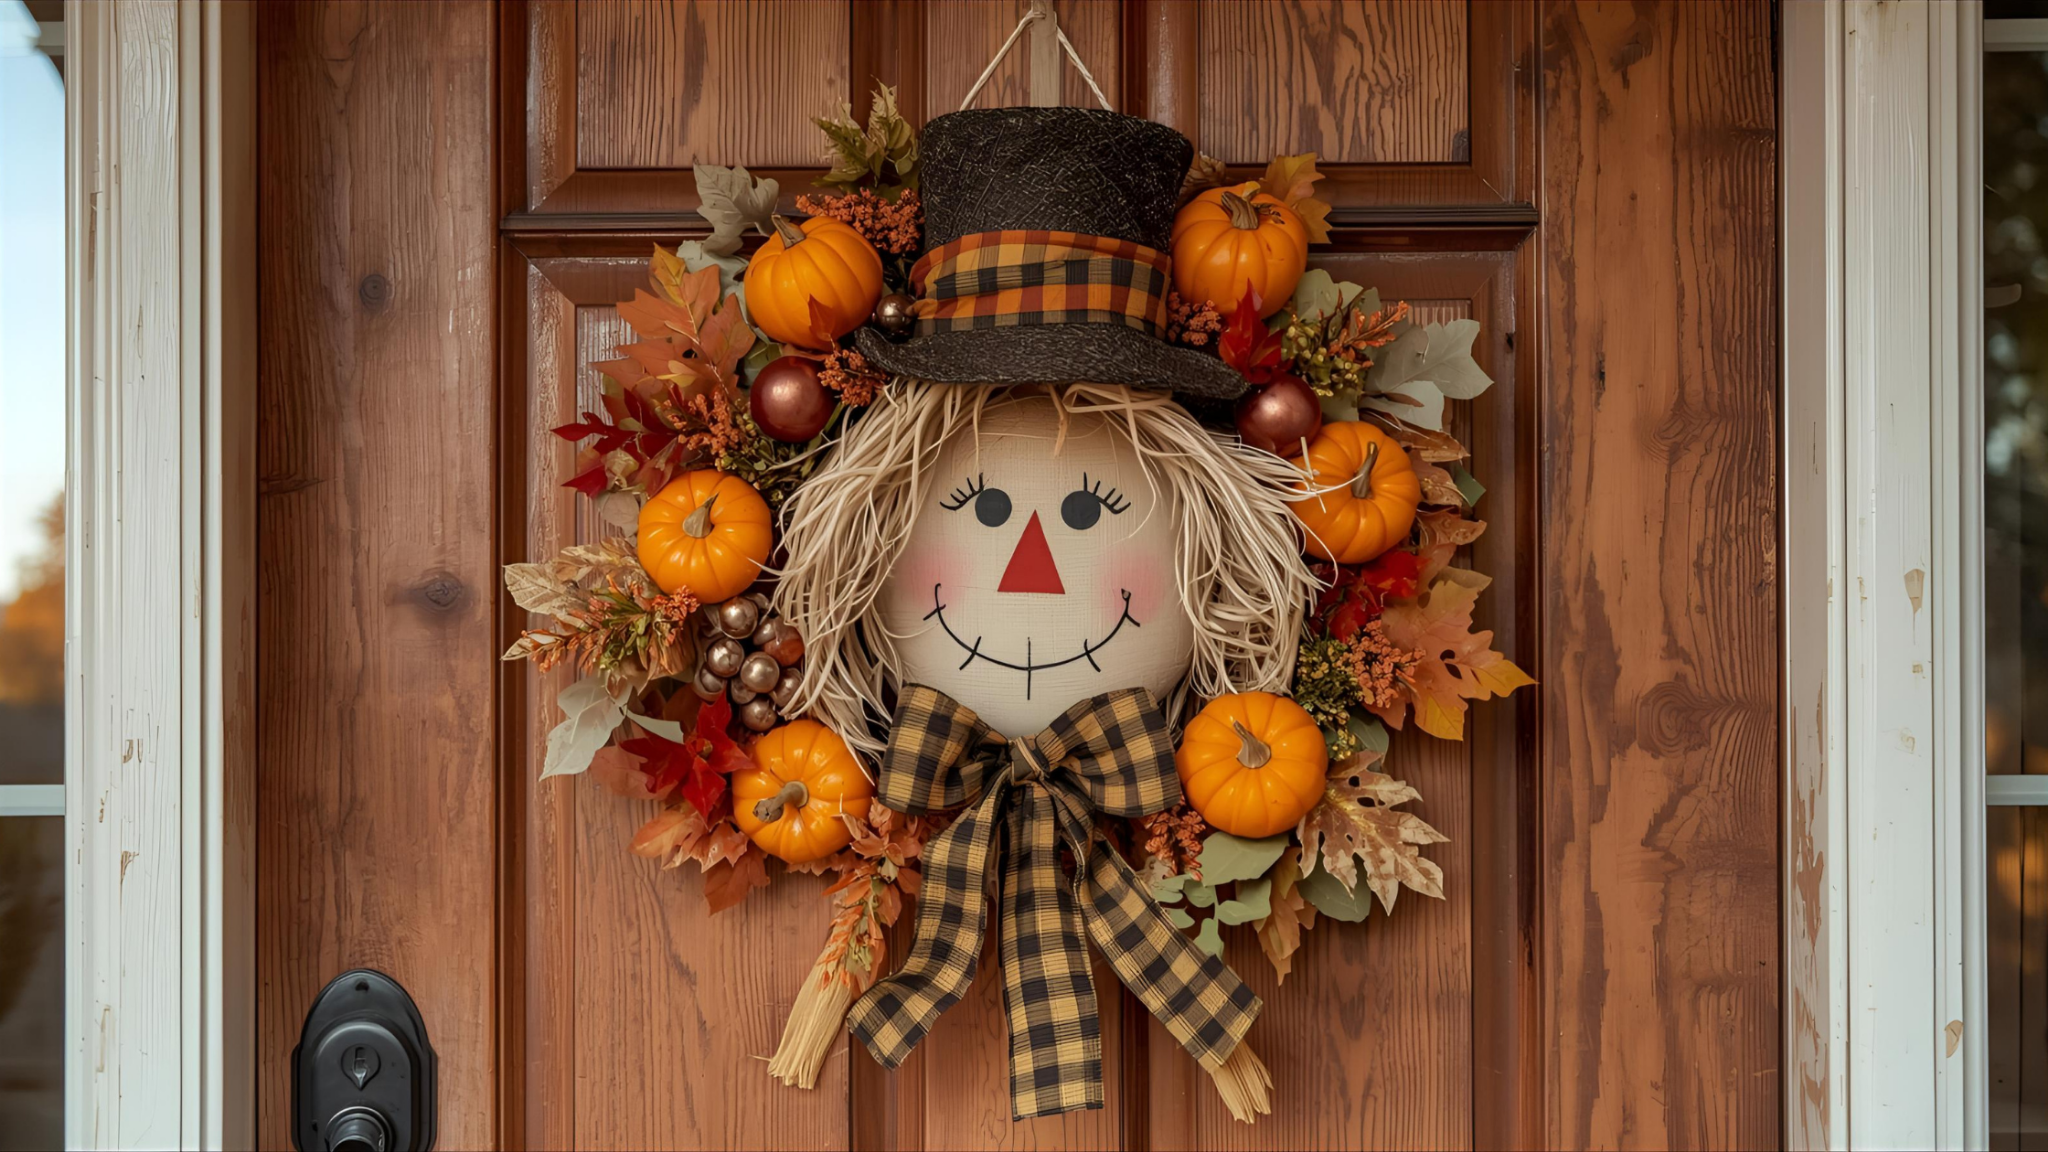
A scarecrow wreath makes your front door feel instantly festive. Older toddlers can help hand you materials, choose colors, or glue on decorations. It’s a simple way to involve them in seasonal decorating without any complicated steps.
Materials Needed:
- Grapevine or foam wreath base
- Burlap ribbon or fabric strips
- Raffia or straw
- Small scarecrow figurine or DIY mini scarecrow face (optional)
- Hot glue gun or strong craft glue
- Decorative items like faux leaves, sunflowers, or mini pumpkins
Steps:
- Wrap burlap ribbon or fabric strips around the wreath base.
- Tuck raffia or straw under the fabric for a rustic touch.
- Glue faux leaves, flowers, or mini pumpkins around the wreath.
- Add a small scarecrow figurine or a handmade scarecrow face in the center or off to the side.
- Tie a ribbon loop at the top for hanging.
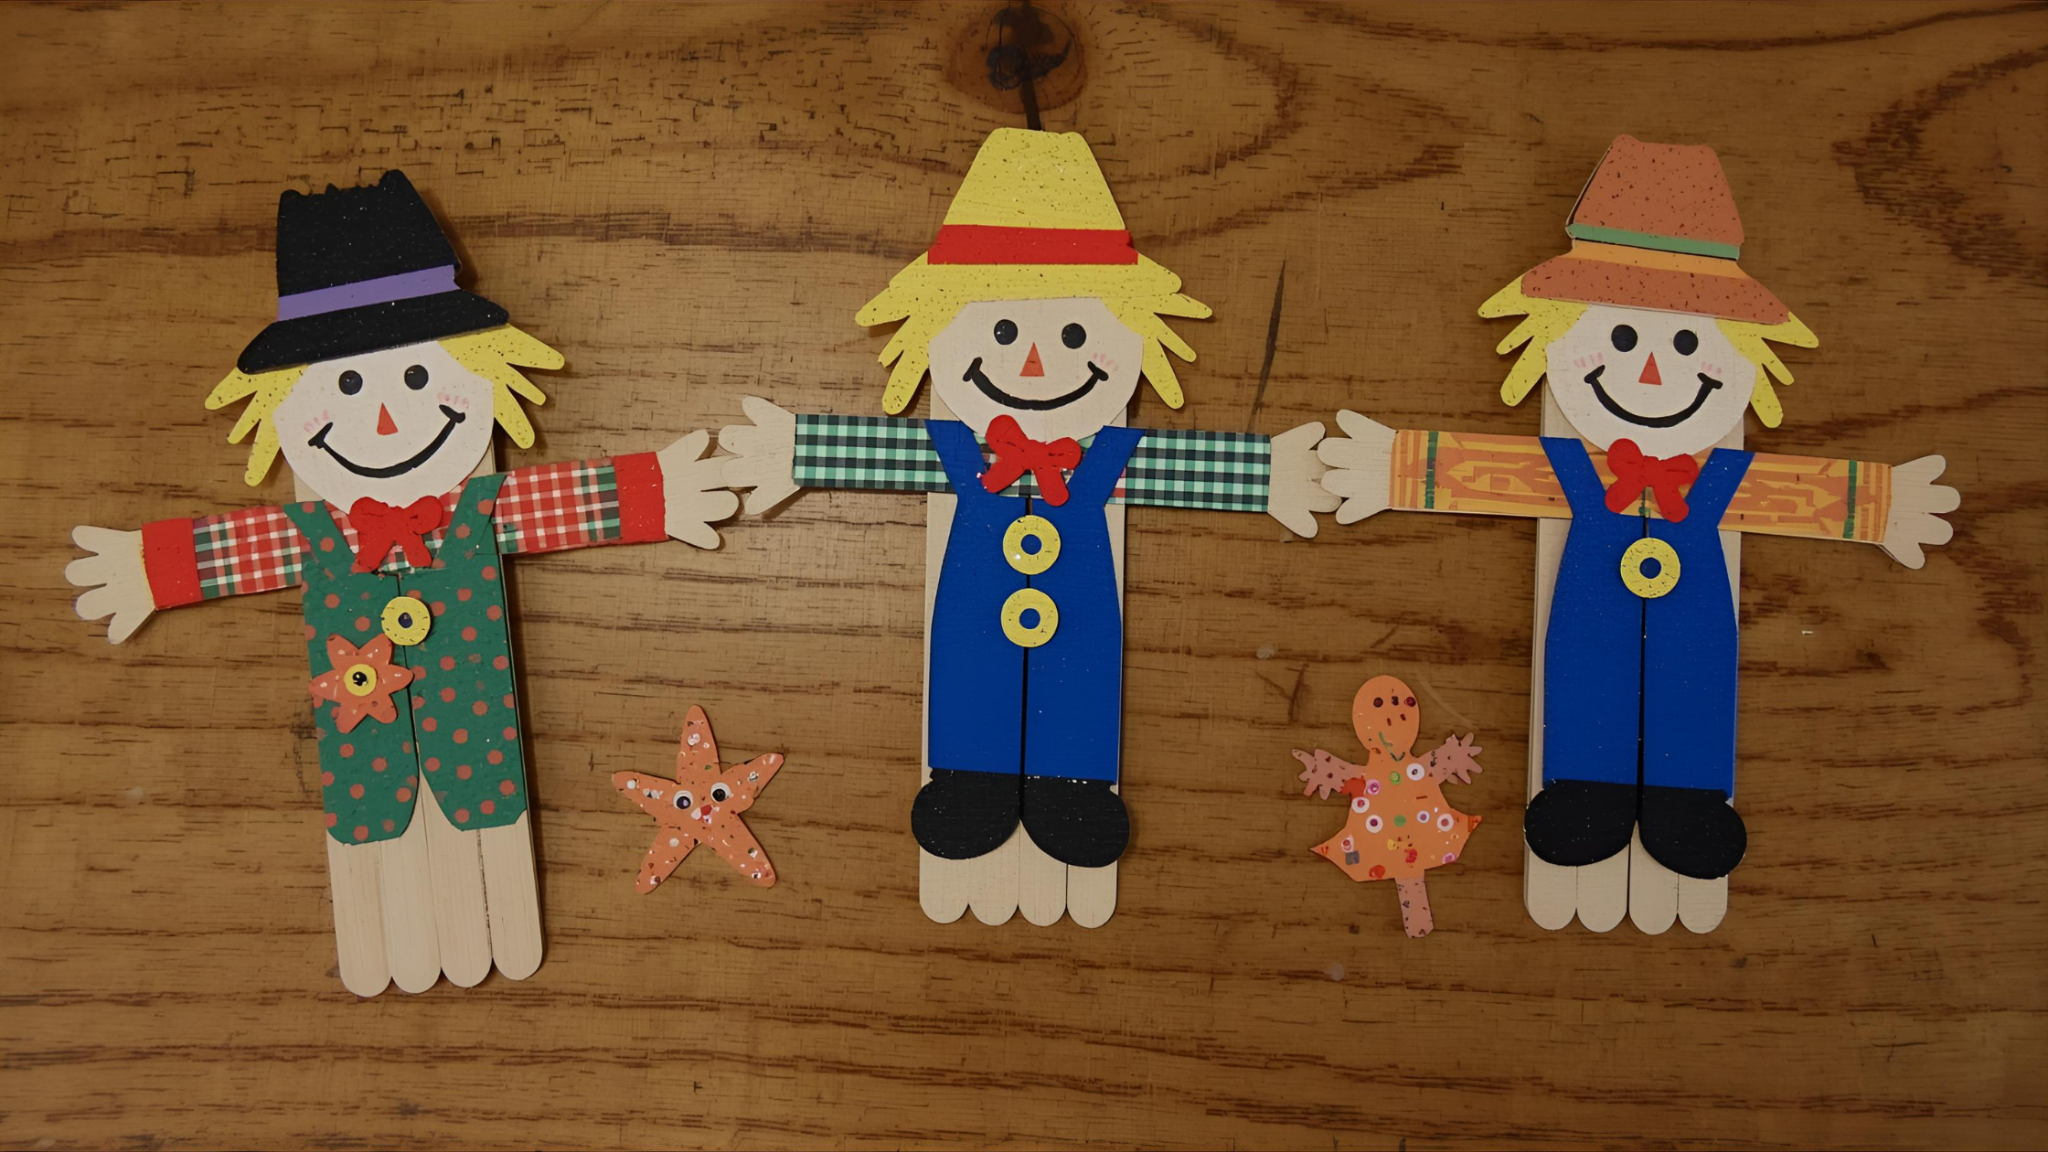
4. DIY Scarecrow Stick Puppets for Kids
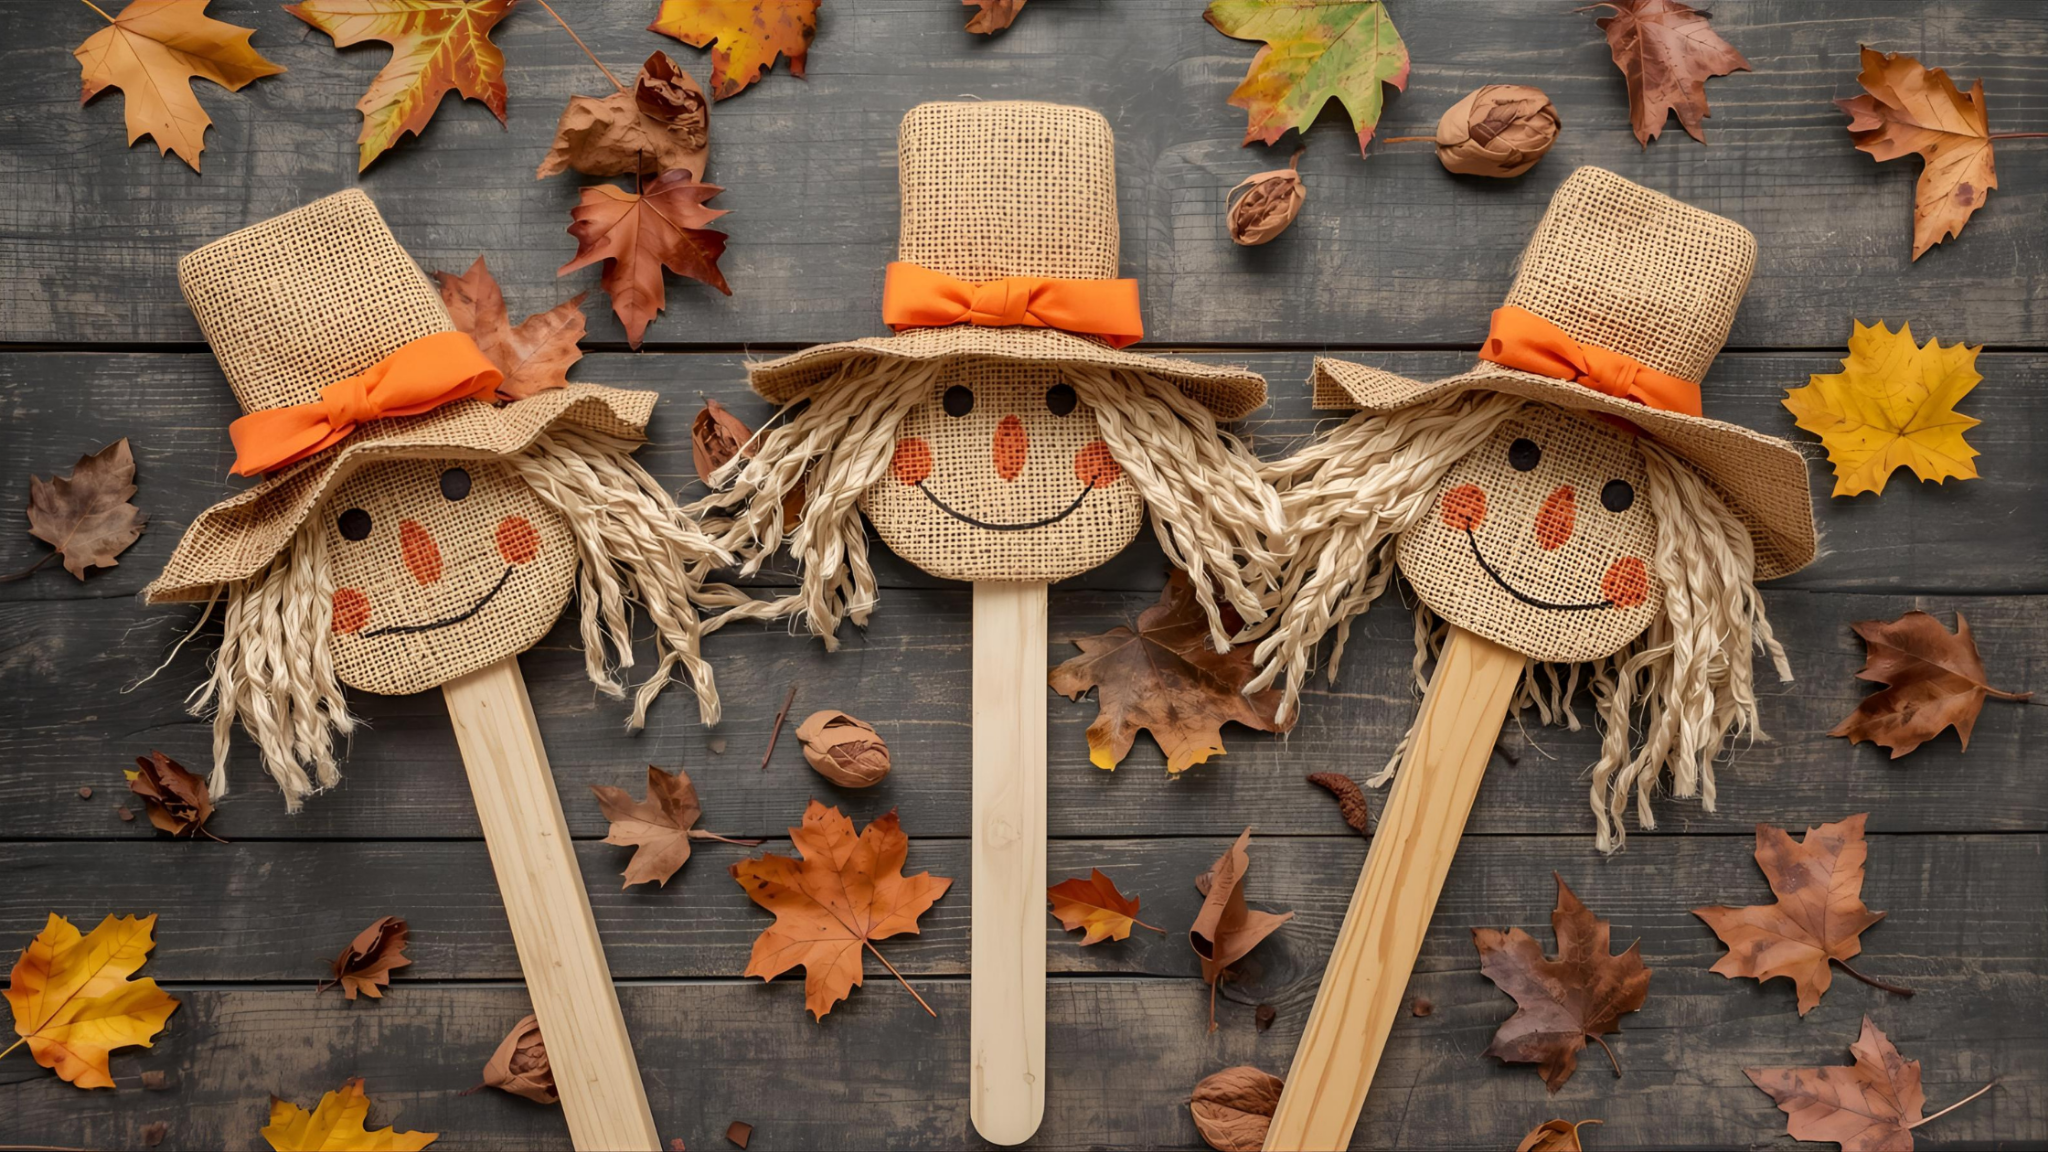
These little stick puppets are a hit with kids because they can use them for pretend play after making them. It’s a two-in-one activity—crafting and imaginative play—which helps toddlers develop storytelling and social skills.
Materials Needed:
- Wooden craft sticks (popsicle sticks)
- Construction paper or felt scraps
- Markers or crayons
- Raffia or yarn
- Glue stick
- Safety scissors
Steps:
- Cut small hat and clothing shapes from paper or felt.
- Let your child draw a face on the top of the craft stick.
- Glue raffia or yarn above the face for hair.
- Attach the hat and clothing shapes with glue.
- Allow everything to dry before using it as puppets.
5. No-Sew Scarecrow Pillow for Cozy Decor
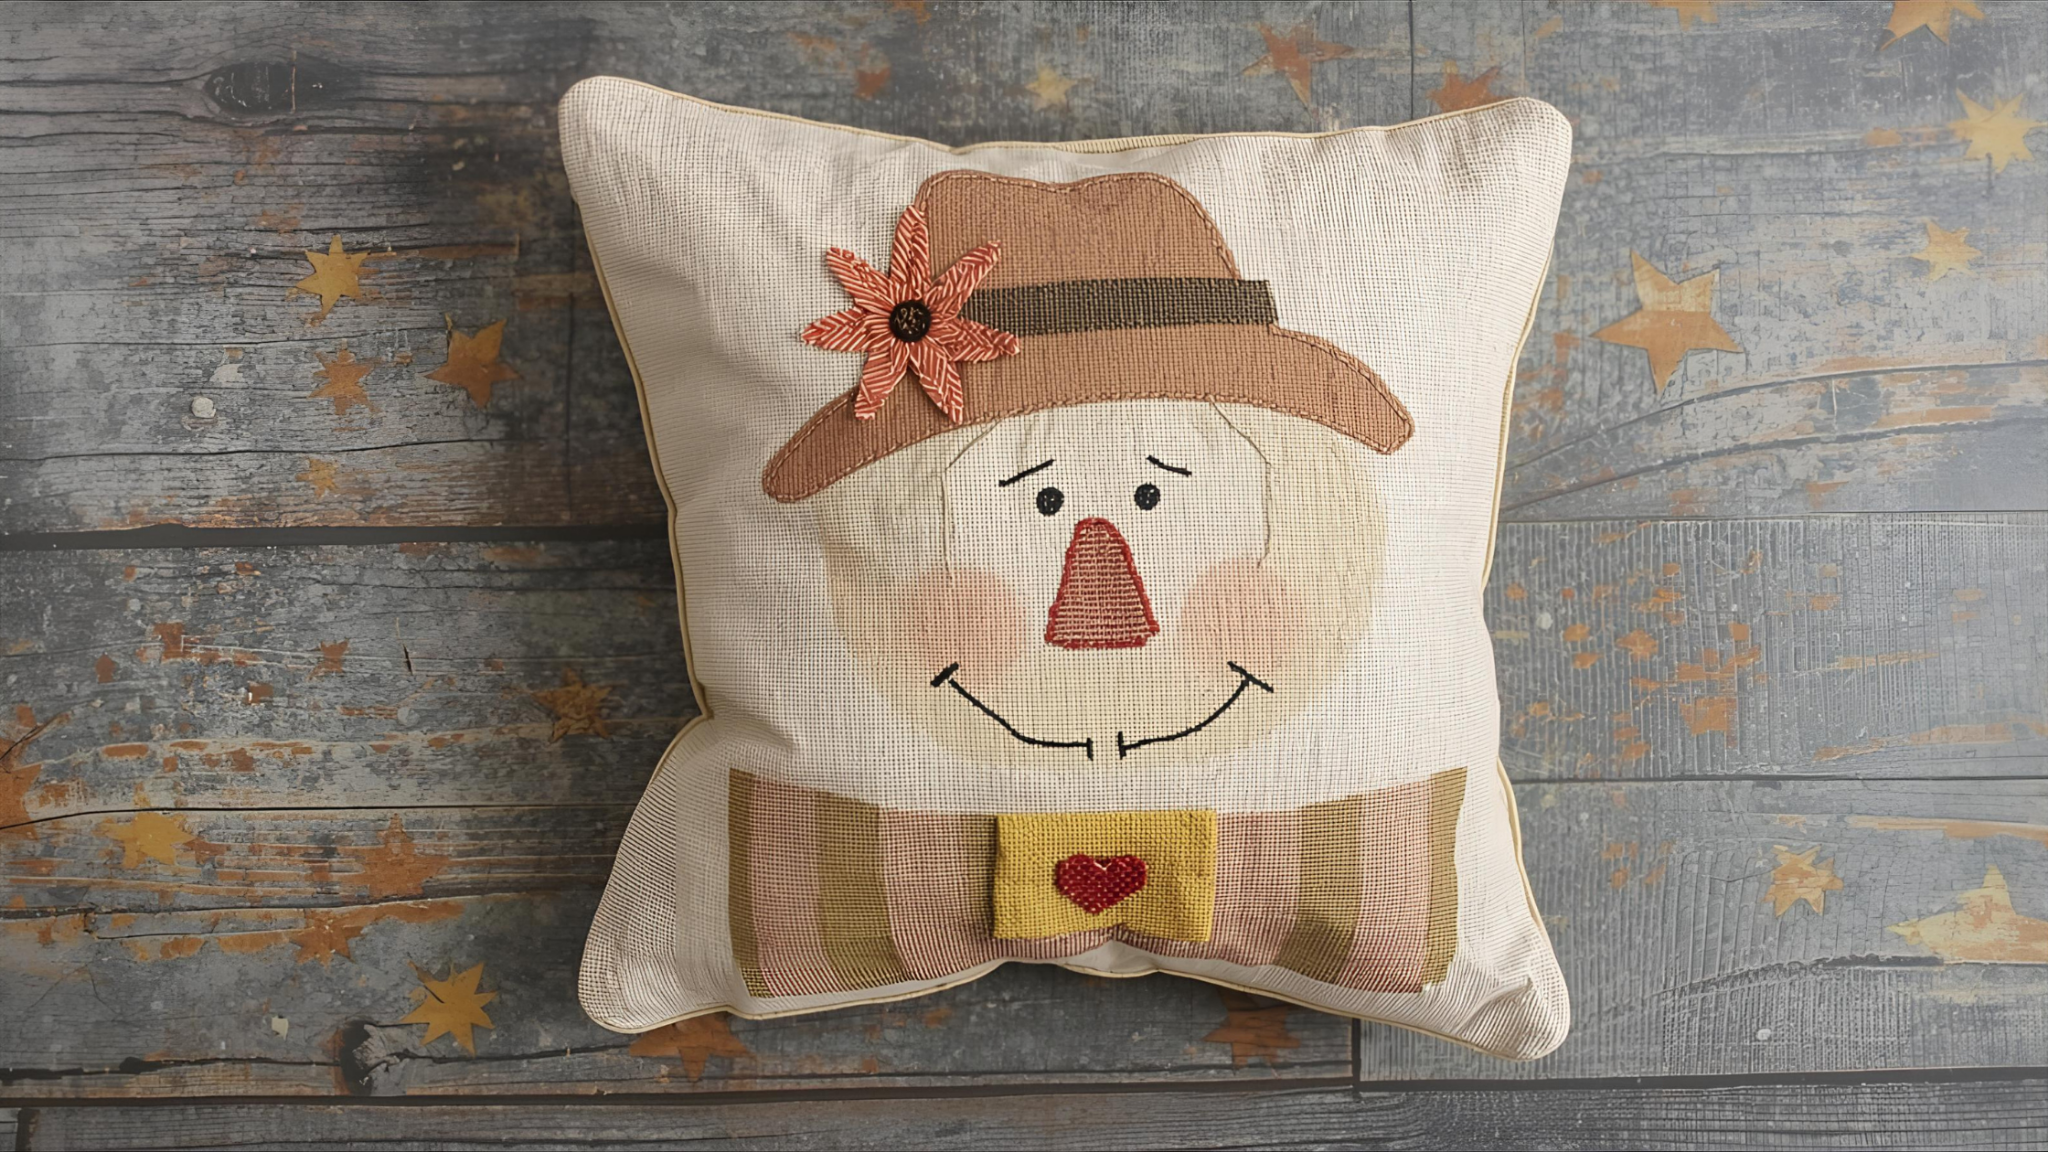
This craft turns into a cuddly fall decoration. It’s no-sew, so it’s safe for kids to help with stuffing and gluing. It also gives them a sense of pride to see their creation on the couch.
Materials Needed:
- Two square pieces of fabric (burlap, felt, or cotton)
- Fabric glue or hot glue gun
- Raffia or yarn for hair
- Fabric markers for face
- Fiberfill or pillow stuffing
Steps:
- Lay the two fabric squares on top of each other.
- Glue three sides, leaving one side open.
- Stuff with fiberfill until full.
- Glue the last side closed.
- Add raffia “hair” at the top corners and draw a scarecrow face with fabric markers.
6. Wooden Spoon Scarecrow Characters
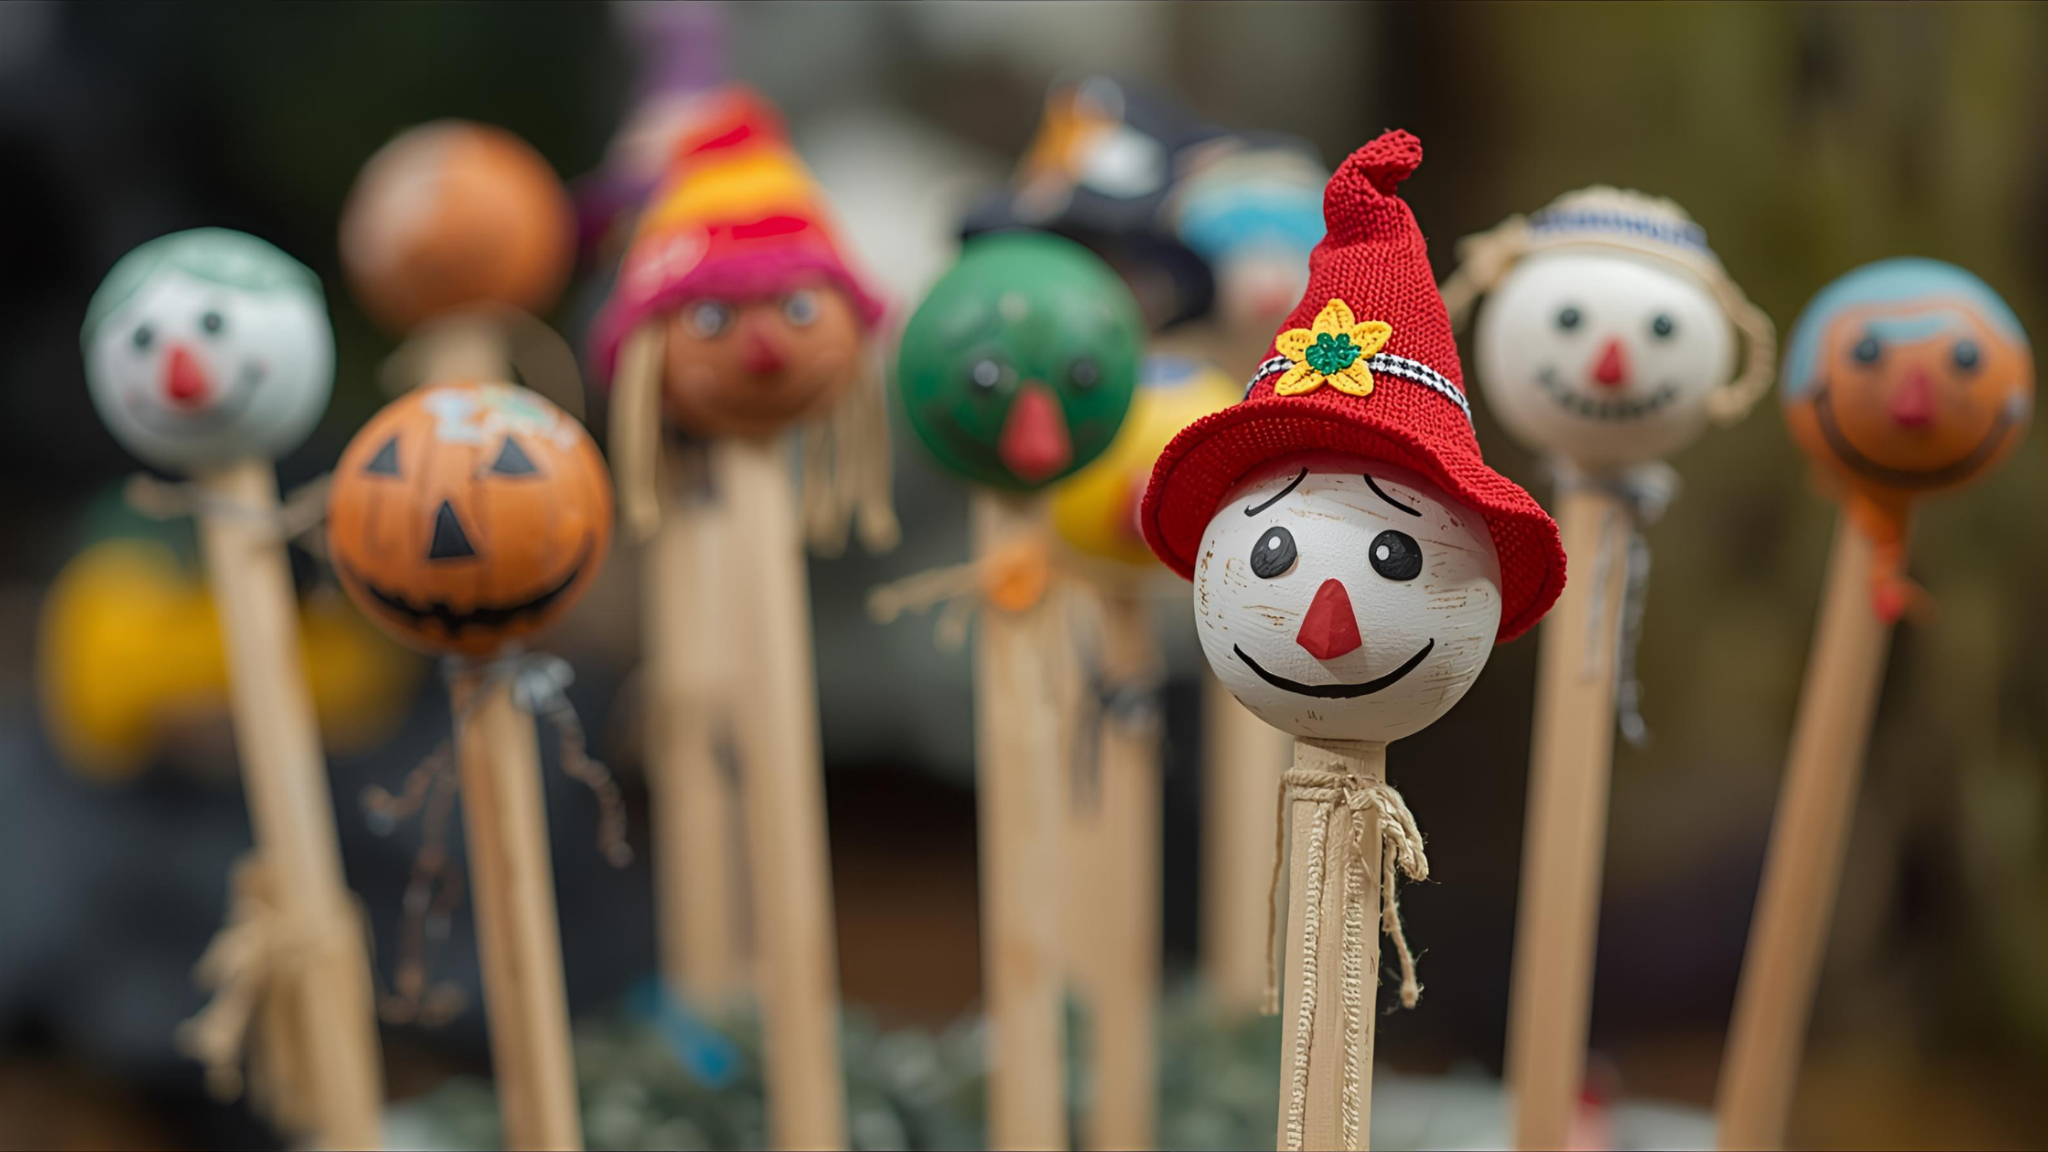
Wooden spoon scarecrows are perfect for little hands to paint and decorate. They can also be used later as puppets or planted in flowerpots for decoration.
Materials Needed:
- Wooden spoons
- Acrylic paint
- Felt or paper for hats
- Raffia or yarn for hair
- Glue
- Buttons, markers, or googly eyes
Steps:
- Paint the spoon bowl tan for the face.
- Once dry, draw or glue on eyes, nose, and a stitched smile.
- Glue raffia or yarn to the back of the spoon head for hair.
- Add a felt hat on top.
- Use markers or fabric to dress the handle as the body.
7. Cute Scarecrow Garland for Mantels or Walls

Making a garland together is fun because your child can create multiple mini scarecrow faces to string along. It’s repetitive, simple, and makes a big impact when hung up.
Materials Needed:
- Construction paper or felt
- String or twine
- Glue stick
- Raffia or yarn for hair
- Safety scissors
Steps:
- Cut several scarecrow face shapes from paper or felt.
- Let your child draw or glue on faces and hair.
- Glue hats on each scarecrow face.
- Punch small holes or glue the backs to a piece of twine.
- Hang across a mantel, window, or doorway.
8. Popsicle Stick Scarecrow Magnets
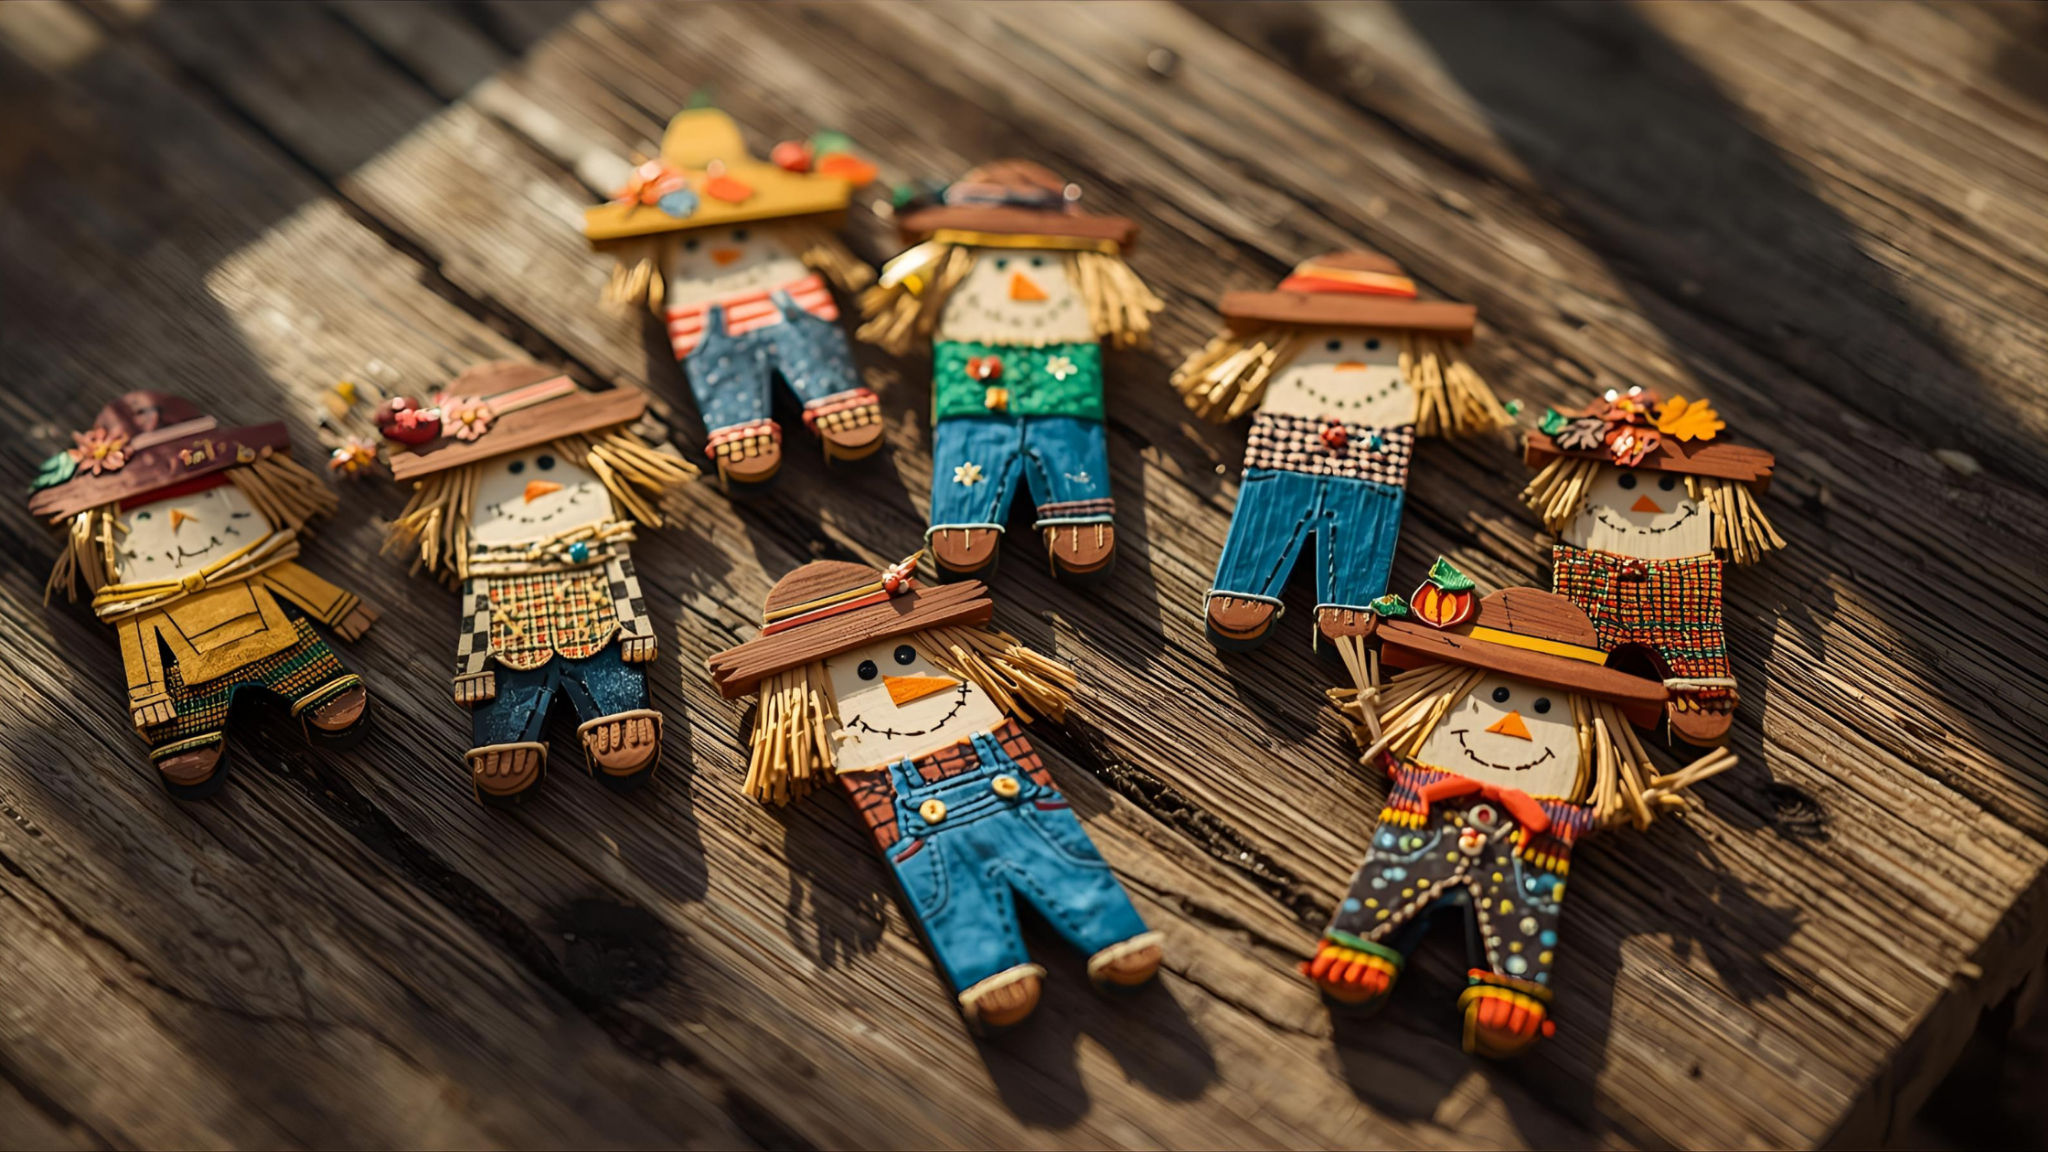
These mini scarecrows are a great refrigerator decoration and a small craft that’s easy for toddlers. Plus, they make wonderful little gifts.
Materials Needed:
- Popsicle sticks
- Glue
- Paint or markers
- Raffia or yarn
- Small magnets
- Felt or paper hats
Steps:
- Glue several popsicle sticks side by side to form a square.
- Paint or color the sticks tan for the face.
- Add raffia hair and a paper or felt hat.
- Draw or glue on eyes, nose, and mouth.
- Glue a small magnet on the back.
9. Scarecrow Mason Jar Lid Ornaments
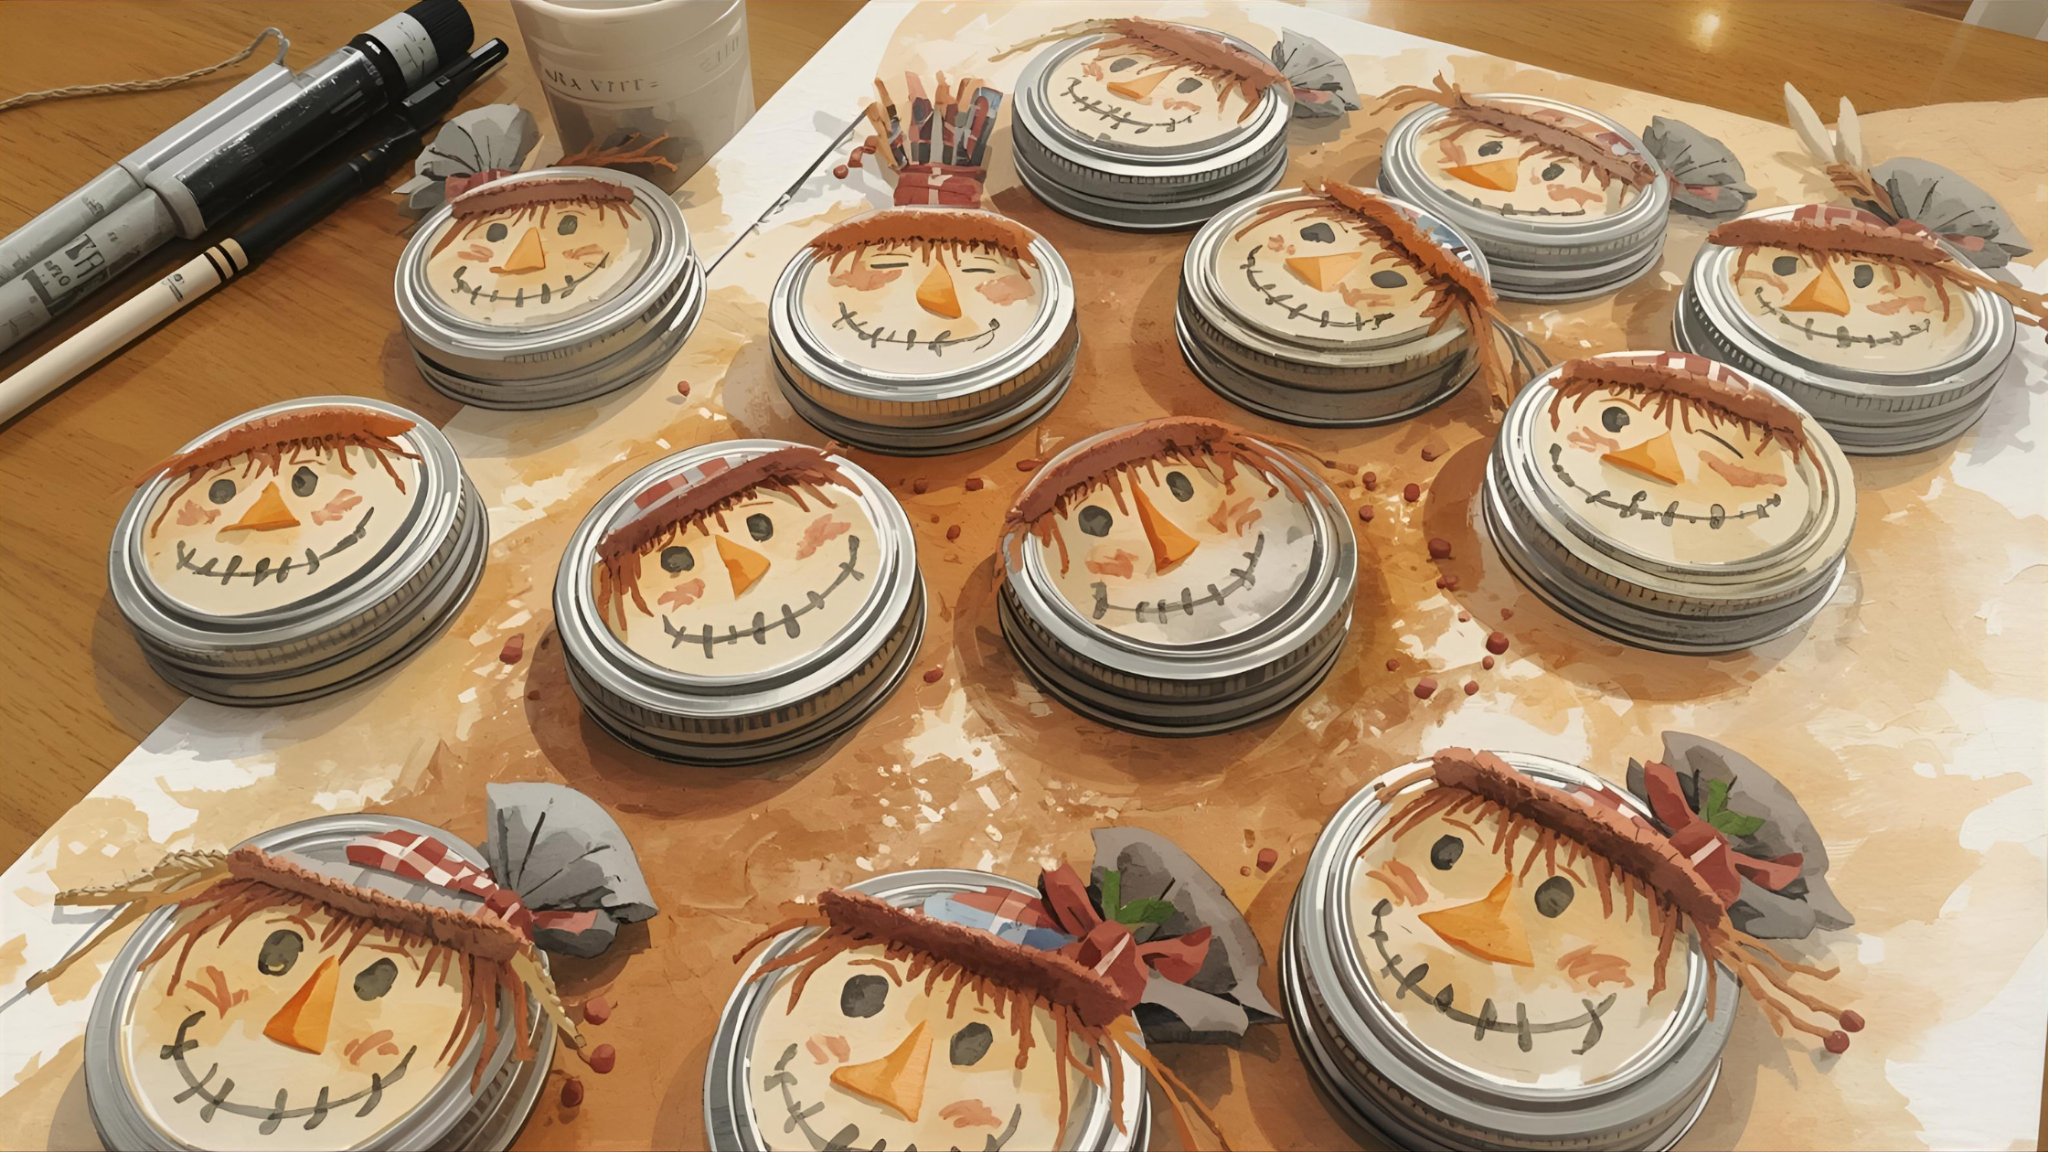
This is a fun way to upcycle jar lids. They’re small and easy for kids to paint and decorate, and they look adorable hanging on hooks or as part of a centerpiece.
Materials Needed:
- Mason jar lids
- Paint
- Raffia or yarn
- Felt or paper hats
- Glue
- String for hanging
Steps:
- Paint the lid’s flat side tan or beige.
- Glue raffia around the rim for hair.
- Add a hat shape at the top.
- Draw or glue on facial features.
- Tie a string through the lid ring for hanging.
10. Upcycled Tin Can Scarecrow Planters
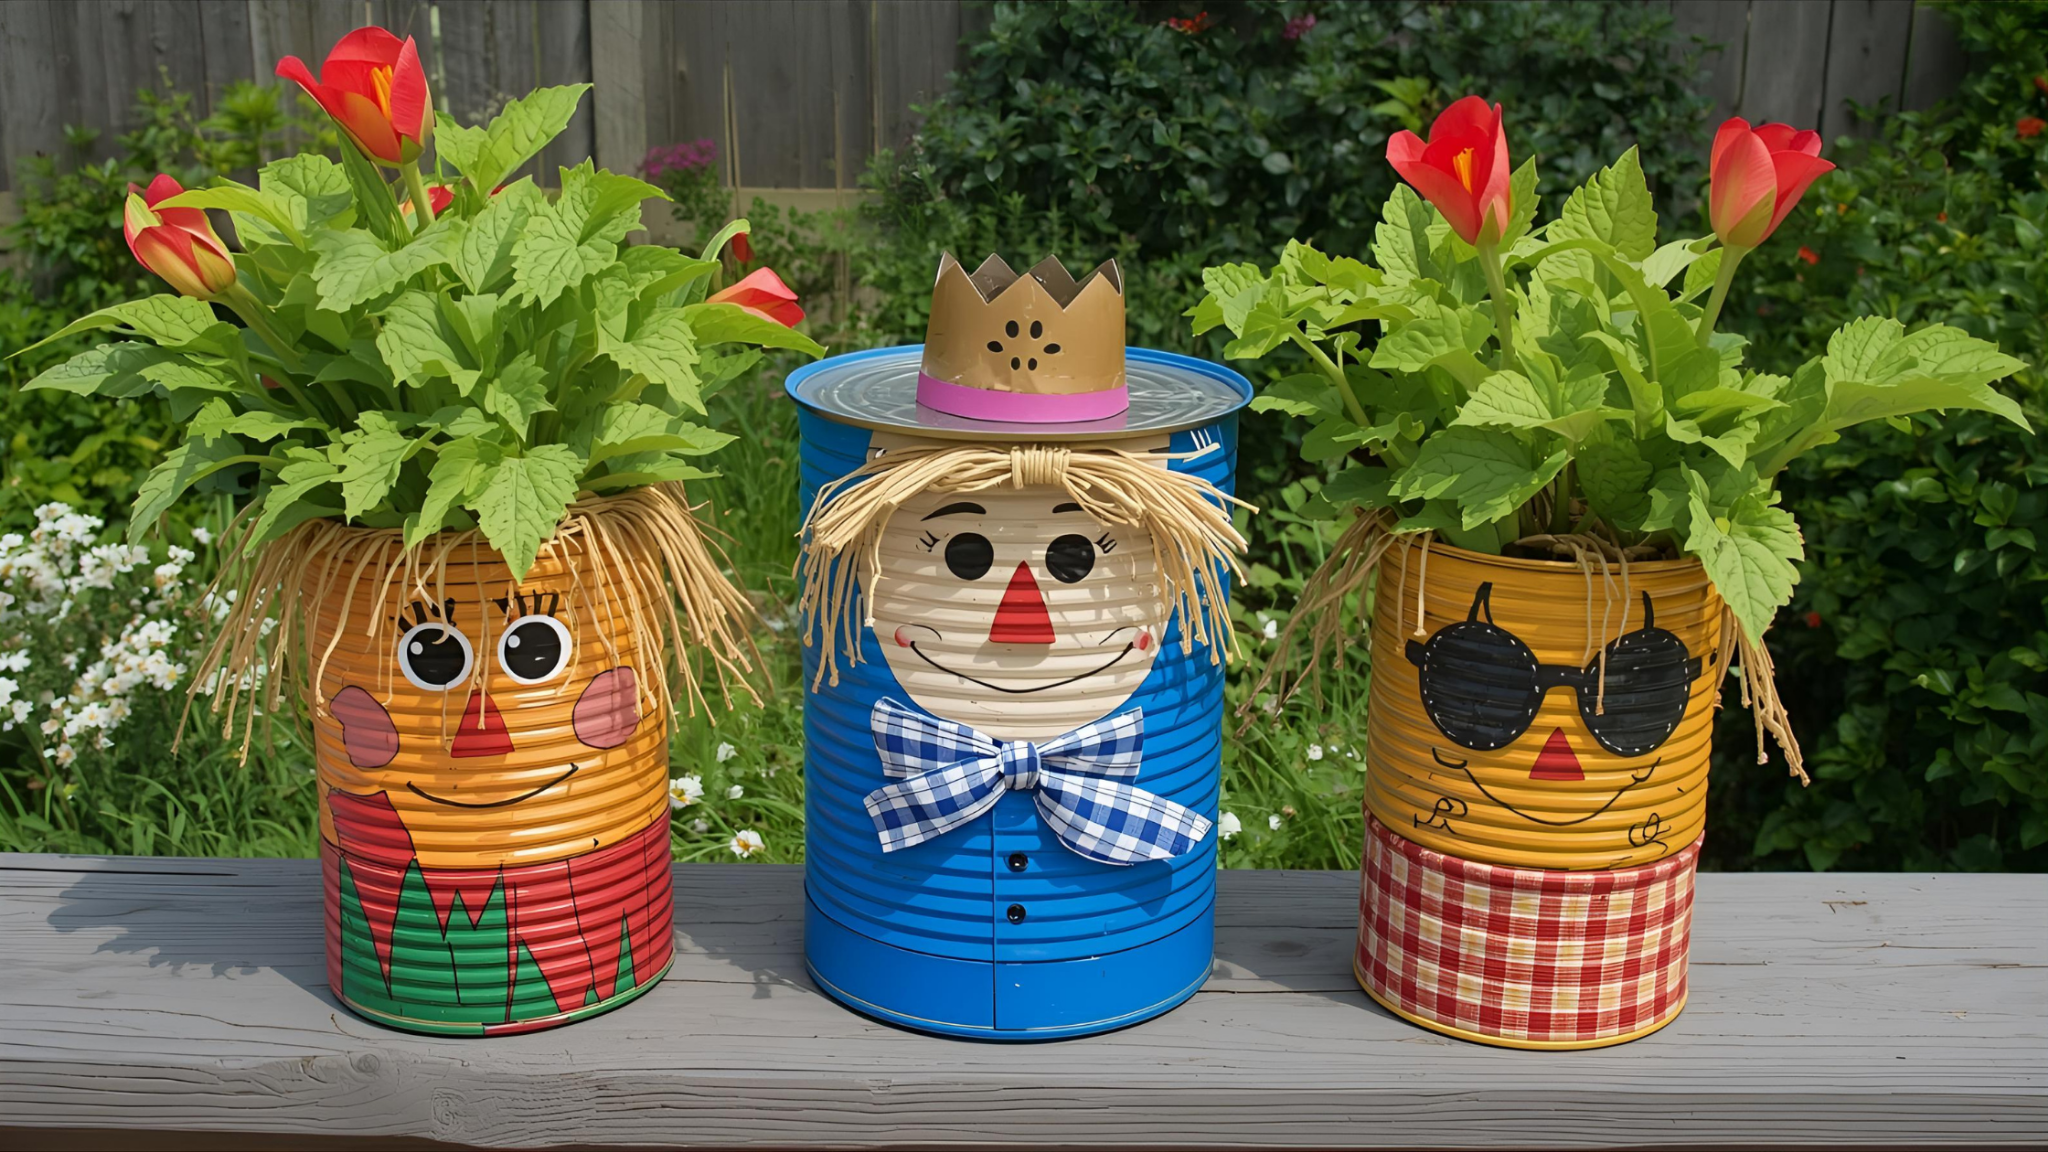
Kids love seeing plants grow, and decorating a tin can planter gives them ownership of their project. It’s also a great way to teach about reusing household items.
Materials Needed:
- Clean, empty tin cans
- Acrylic paint
- Raffia or yarn
- Felt or paper hats
- Soil and small plants (optional)
- Glue
Steps:
- Paint the can tan or orange.
- Glue raffia around the top edge for hair.
- Add a felt hat above the hair.
- Draw or glue on the scarecrow face.
- Fill with soil and plant herbs or flowers.
11. Handprint Scarecrow Art for Little Kids

Handprint crafts are special keepsakes, especially for toddlers. This one doubles as a fun activity and a memory of how small their hands were.
Materials Needed:
- Construction paper
- Washable paint
- Markers or crayons
- Raffia or yarn
- Glue
Steps:
- Paint your child’s hand with orange or brown paint.
- Press onto paper to create a handprint base.
- Once dry, draw a scarecrow face on the palm area.
- Glue raffia or yarn along the top for hair.
- Add a hat cutout above the handprint.
12. Scarecrow Treat Bags for Fall Parties
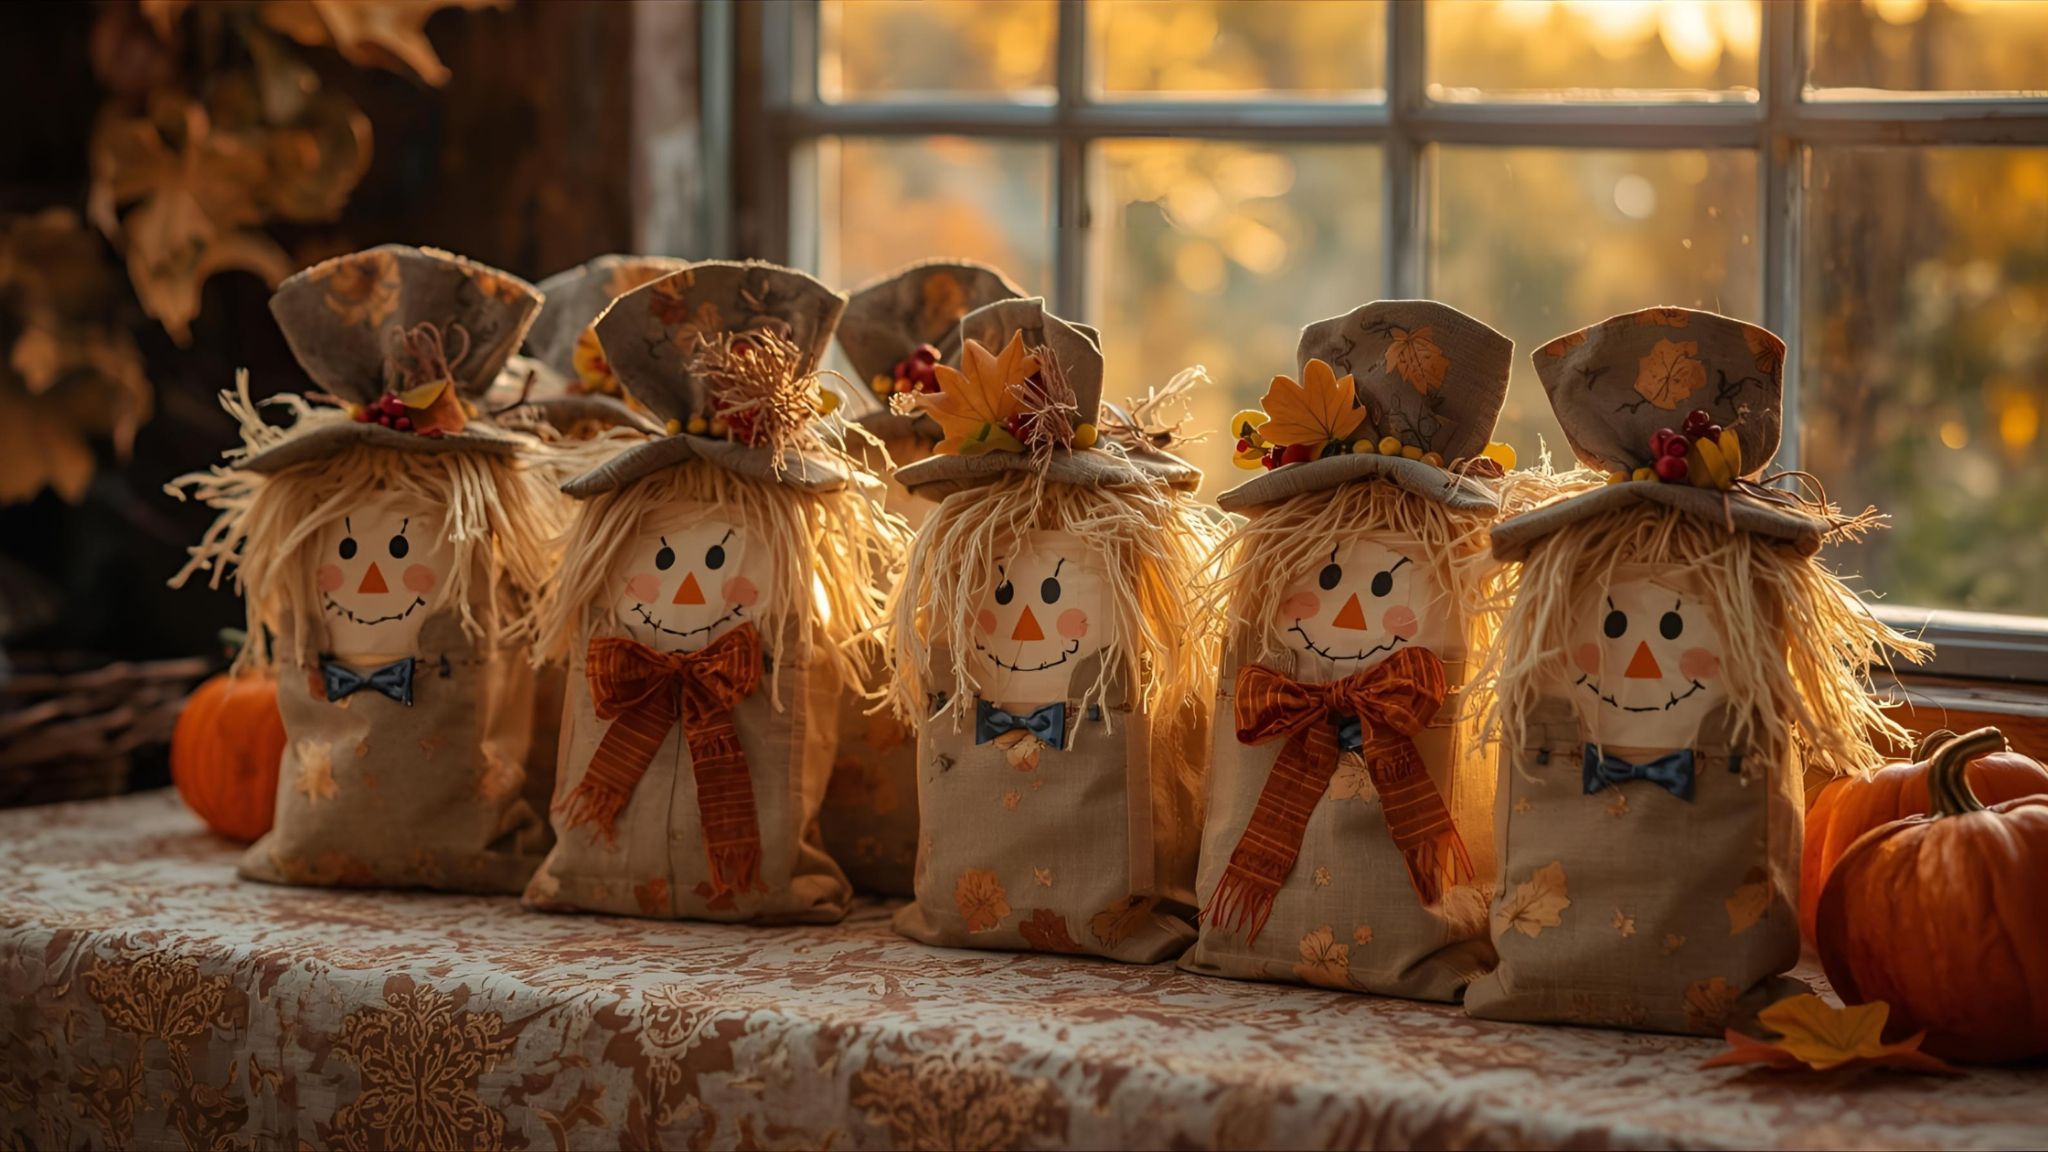
These treat bags are perfect for party favors or just as a fun way to hand out snacks. Kids love decorating their own bag and then filling it with goodies.
Materials Needed:
- Brown paper lunch bags
- Markers or crayons
- Raffia or yarn
- Felt or paper hats
- Glue
- Small treats
Steps:
- Draw a scarecrow face on the front of the bag.
- Glue raffia or yarn along the top edge for hair.
- Add a hat cutout above the hair.
- Fill with treats and fold or tie shut.
Tips for Making Scarecrow Crafts Fun and Stress-Free

Crafting with kids should feel joyful, not overwhelming. Over time, I’ve learned a few tricks that make scarecrow crafts easier to manage, even with a busy toddler around.
These tips will help you keep the process simple and enjoyable for both you and your child.
- Gather all your materials before you start so you’re not scrambling mid-project.
- Choose simple crafts first to build your child’s confidence and keep stress low.
- Protect your work area with newspaper or an old tablecloth for quick cleanup.
- Use child-safe scissors, washable paints, and non-toxic glue to avoid safety worries.
- Break projects into short sessions instead of trying to finish everything at once.
- Let your child pick colors or accessories so they feel ownership of the craft.
- Keep wipes or a damp cloth nearby for quick hands-and-table cleanups.
- Prepare some pre-cut shapes or templates to save time on tricky steps.
- Embrace imperfections—crafting is about memories, not perfection.
- Display the finished crafts proudly so your child feels proud of their work.
How to Display and Share Your Scarecrow Crafts
After putting time and love into scarecrow crafts with my little one, I’ve found that displaying them around our home makes the season feel extra special.
Sharing them with friends and family also spreads joy and gives your child a sense of pride. Here are some simple ways to show off your creations.
- Arrange small scarecrow crafts as a centerpiece on your dining table.
- Hang garlands or wreaths on doors, mantels, or windows for instant fall décor.
- Use decorated mason jars or tin cans as planters on the porch or kitchen counter.
- Clip paper plate scarecrows to a string for a cheerful wall display.
- Frame your child’s handprint scarecrow art and add it to a seasonal gallery wall.
- Send mini scarecrow crafts to grandparents or friends as autumn gifts.
- Post photos of your creations on social media to inspire other moms.
- Create a “scarecrow corner” at home where all crafts are grouped together.
- Use scarecrow treat bags at playdates, school events, or church gatherings.
- Involve your child in choosing where each craft should go for added excitement.
Conclusion
Crafting scarecrows has become one of my favorite fall traditions with my toddler. It’s not just about decorating our home; it’s about slowing down, making memories, and giving my child a chance to be creative.
Even simple projects can spark big smiles and turn an ordinary afternoon into something special. Whether you try one craft or all twelve, I hope these ideas help you bring warmth, color, and a little extra joy to your home this season.